English
 Español
 Deutsch
 Français
 Čeština
 Slovenčina
 Dansk
Dansk Magyar
 Italiano
 Nederlands
 Polski
 Română
 Svenska
 Українська

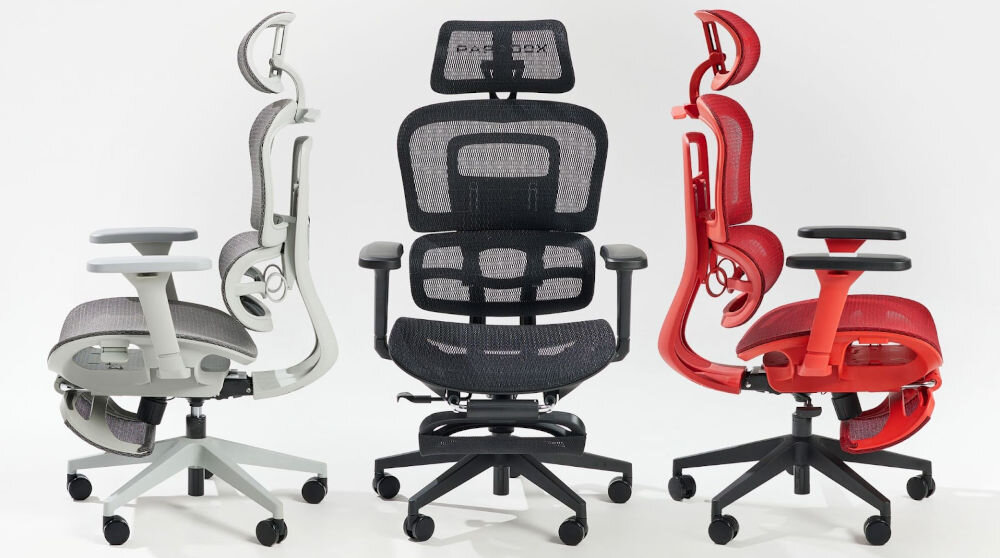
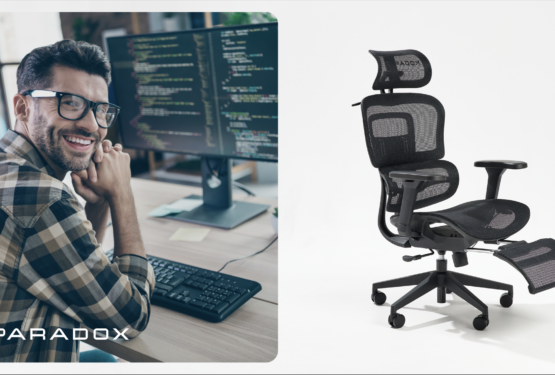
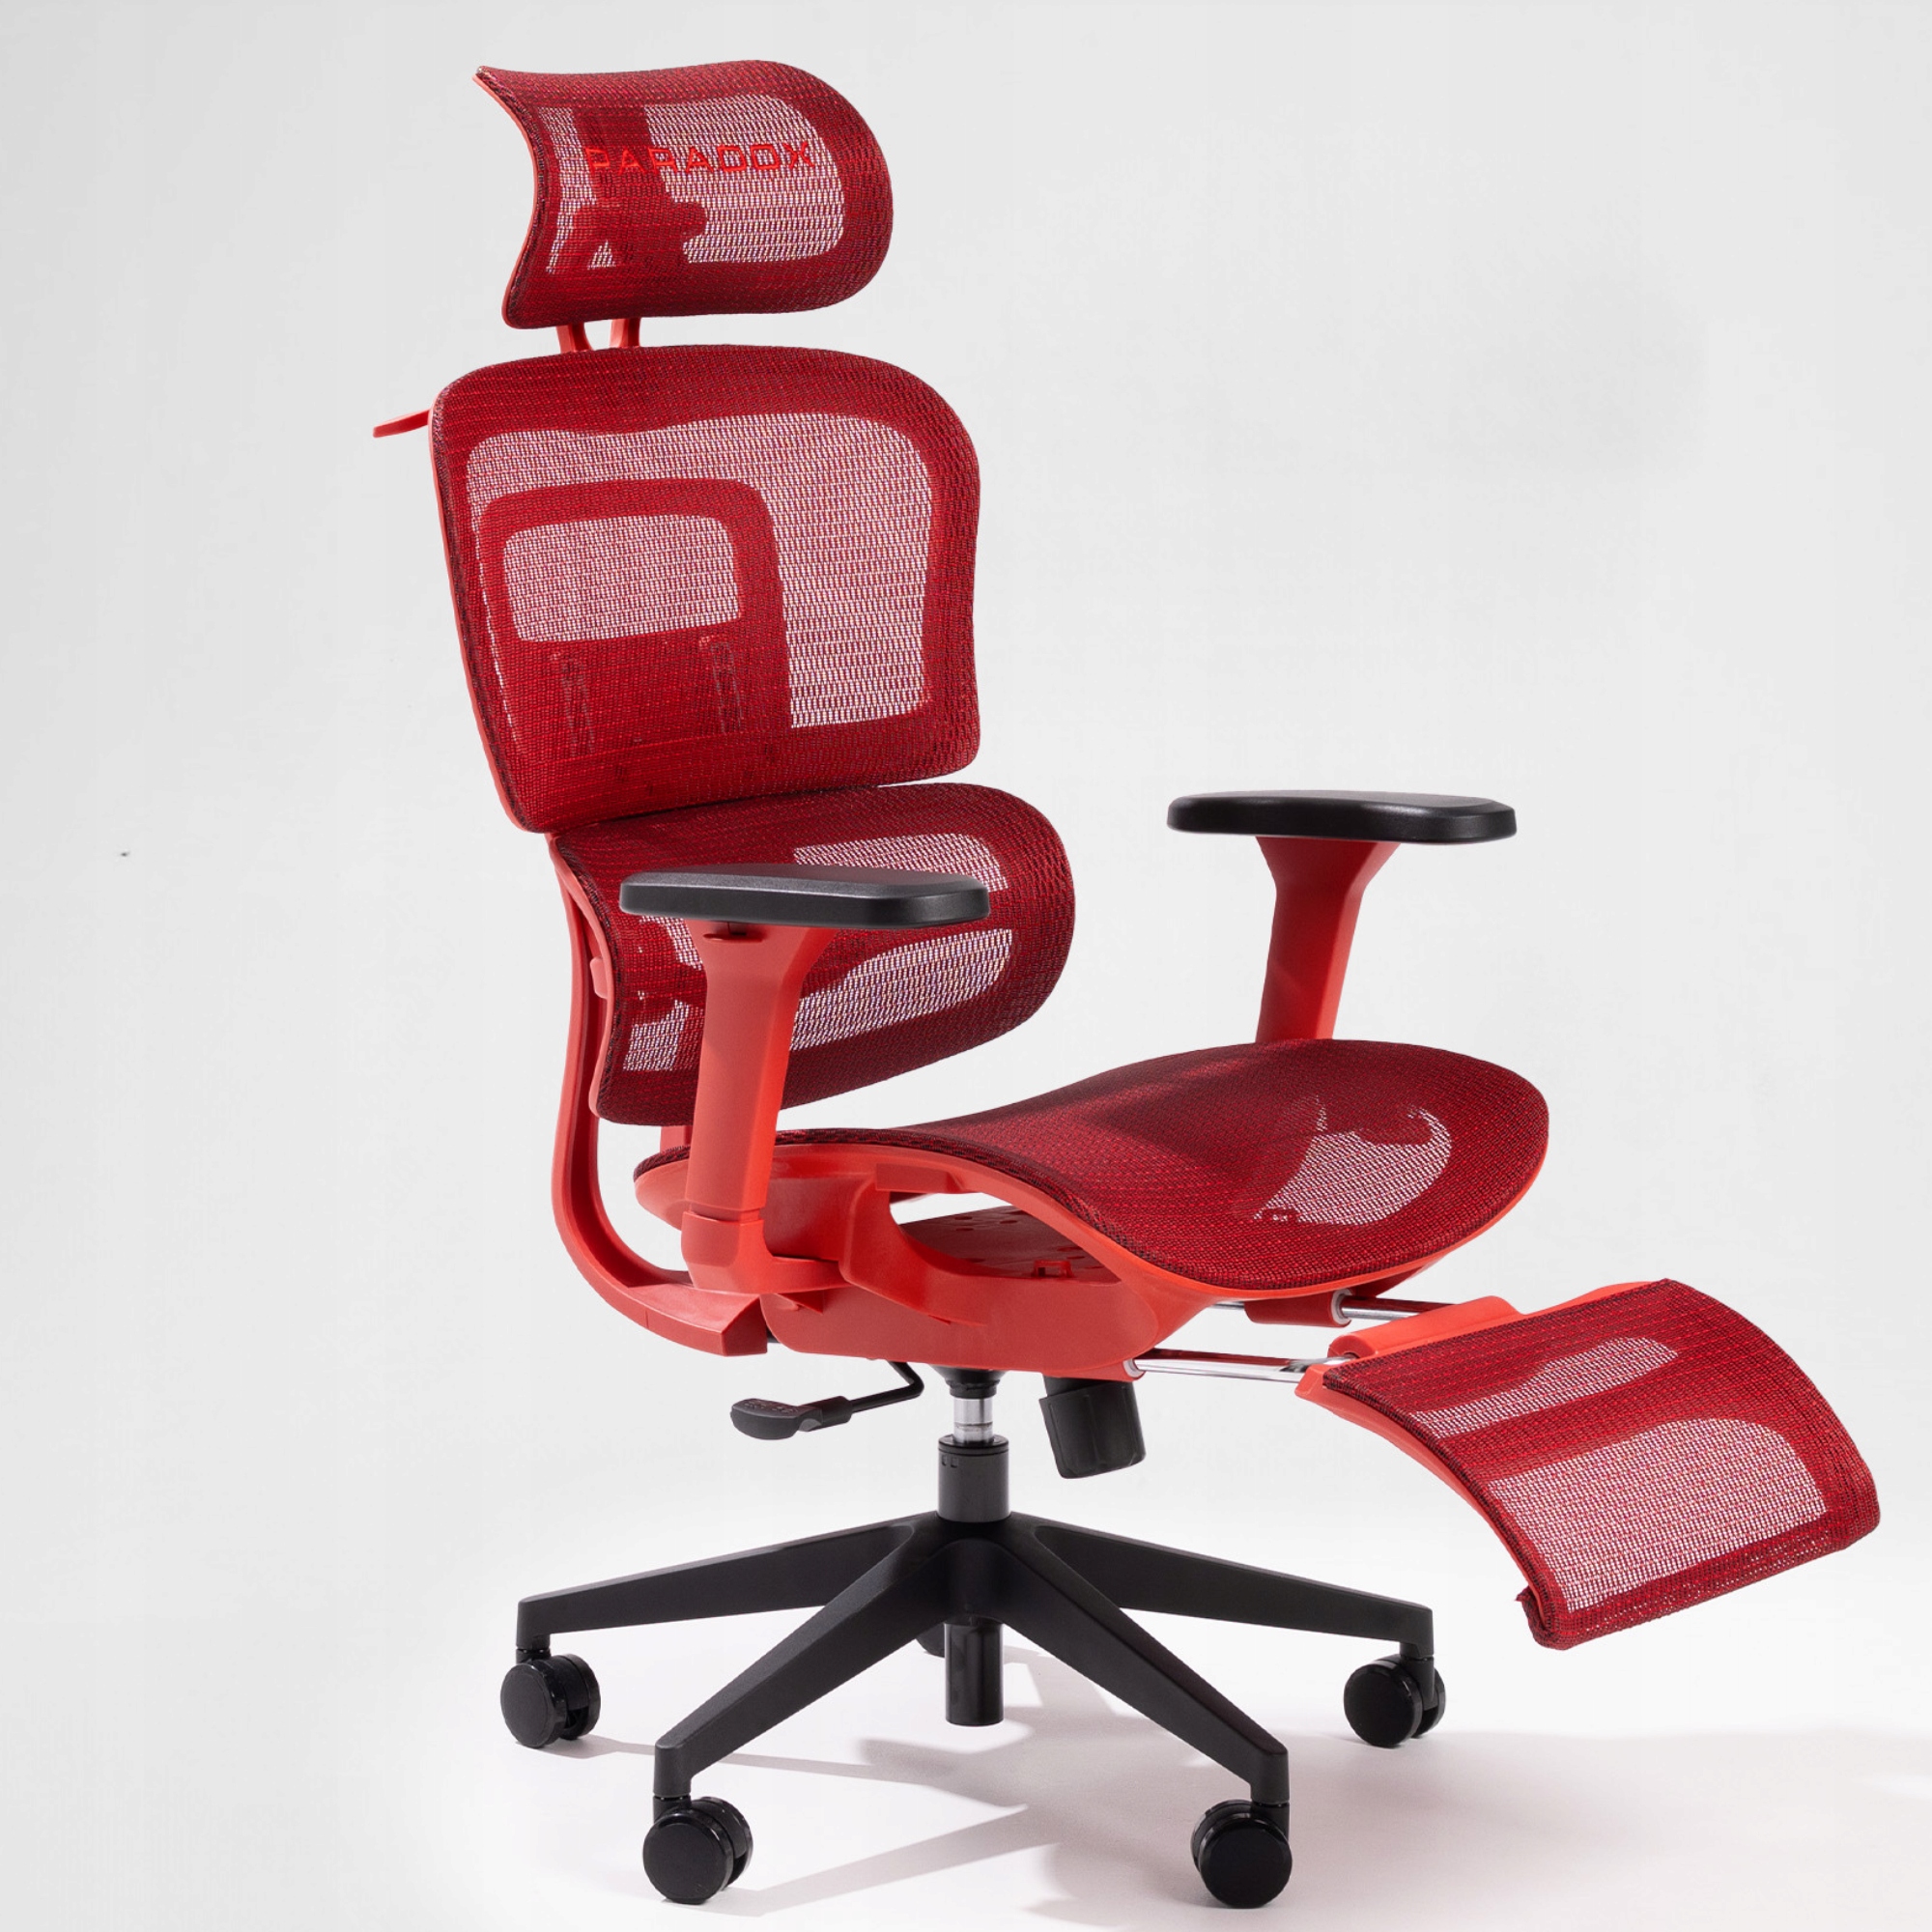
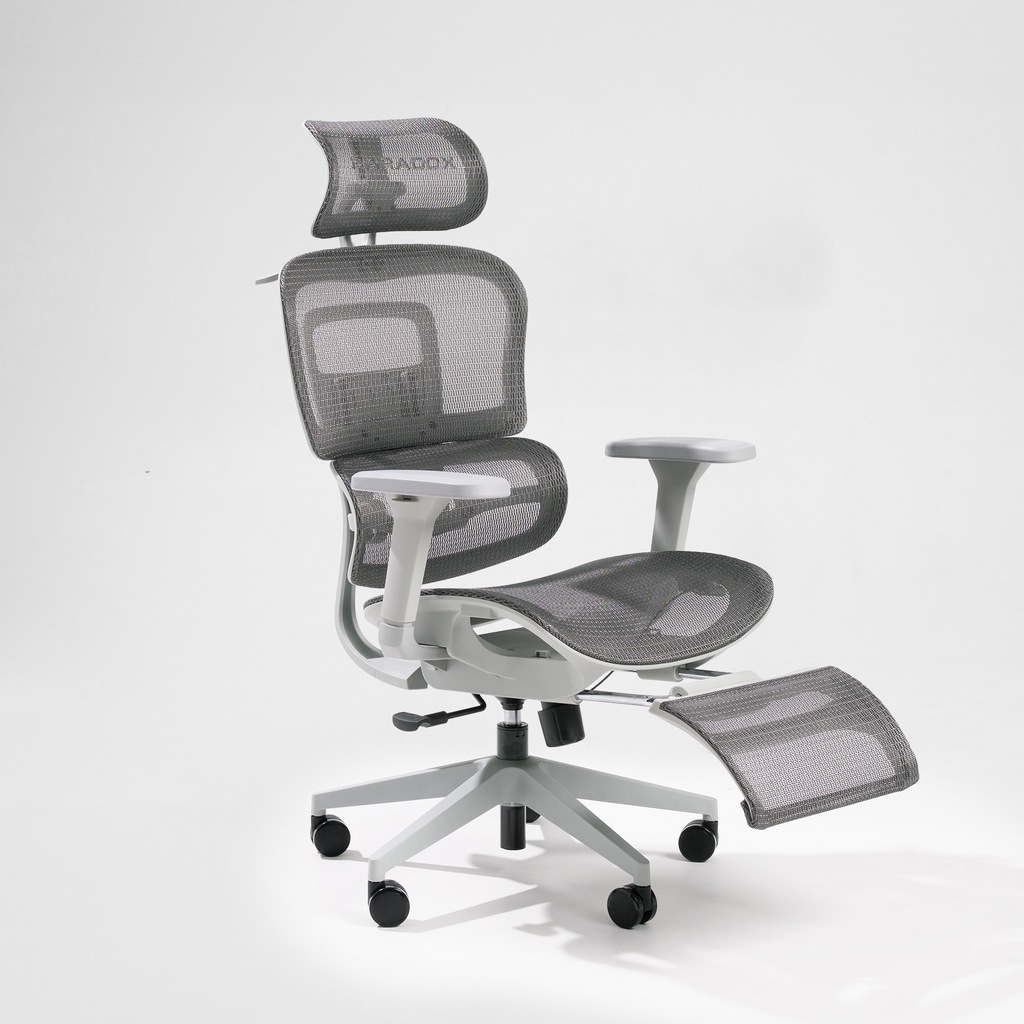
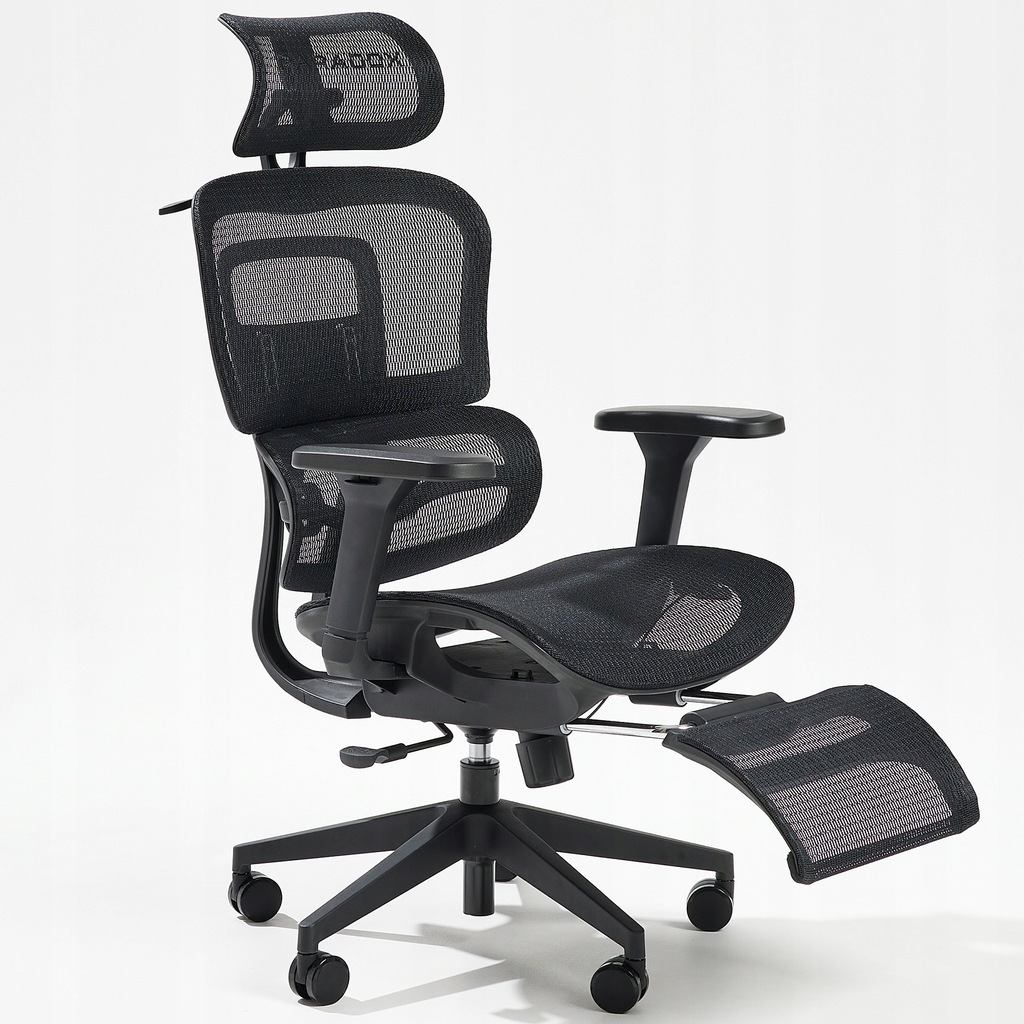
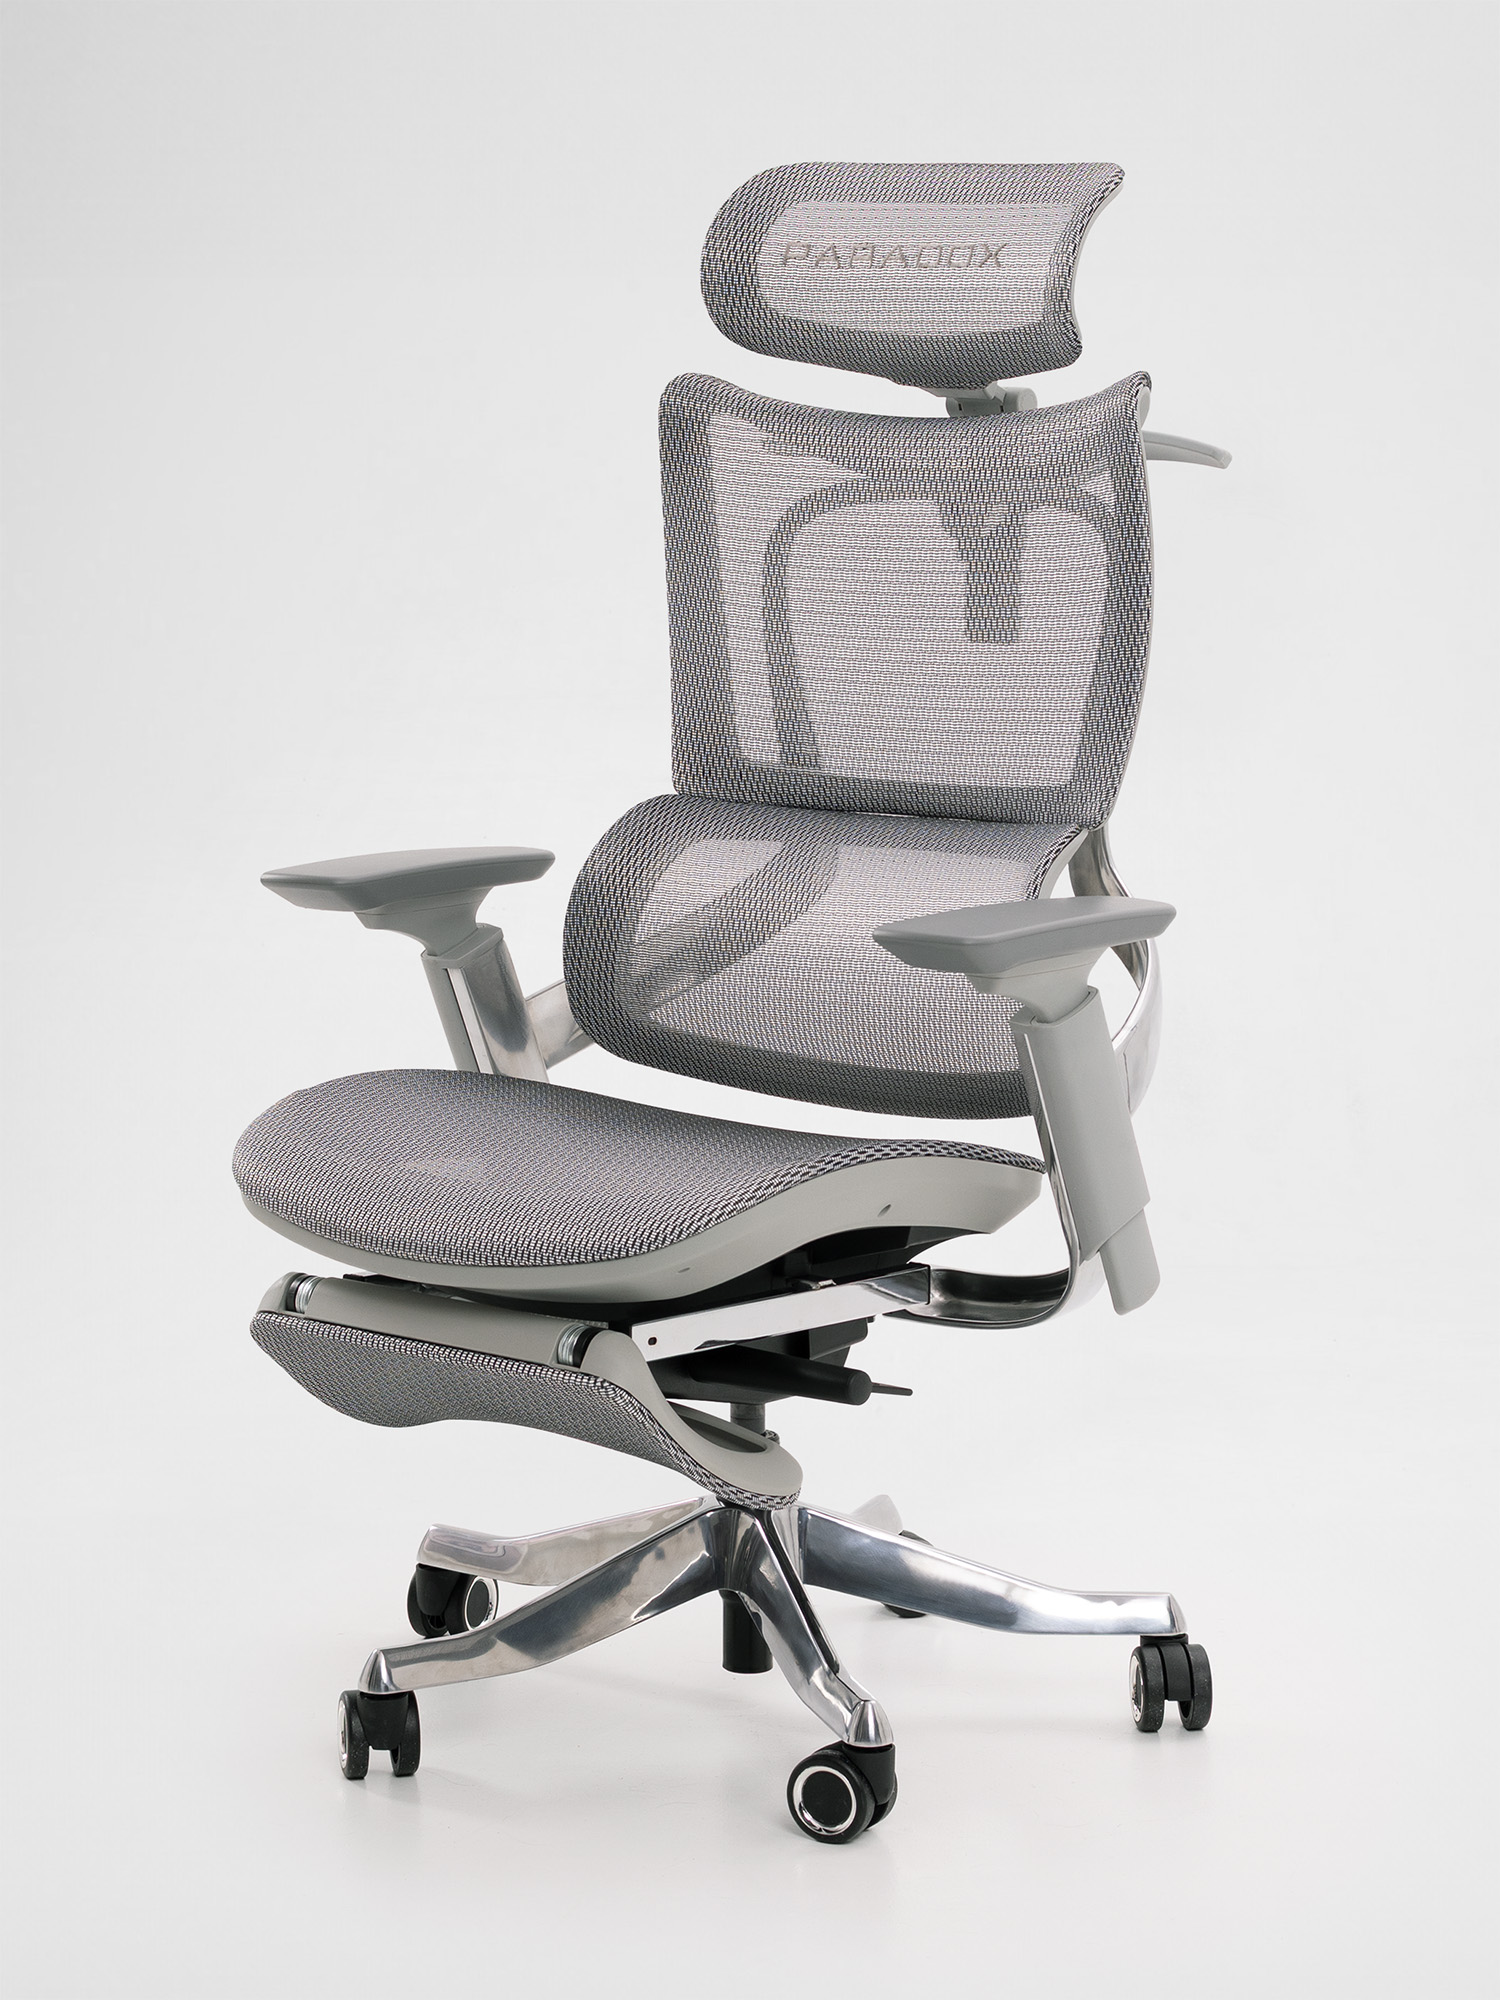
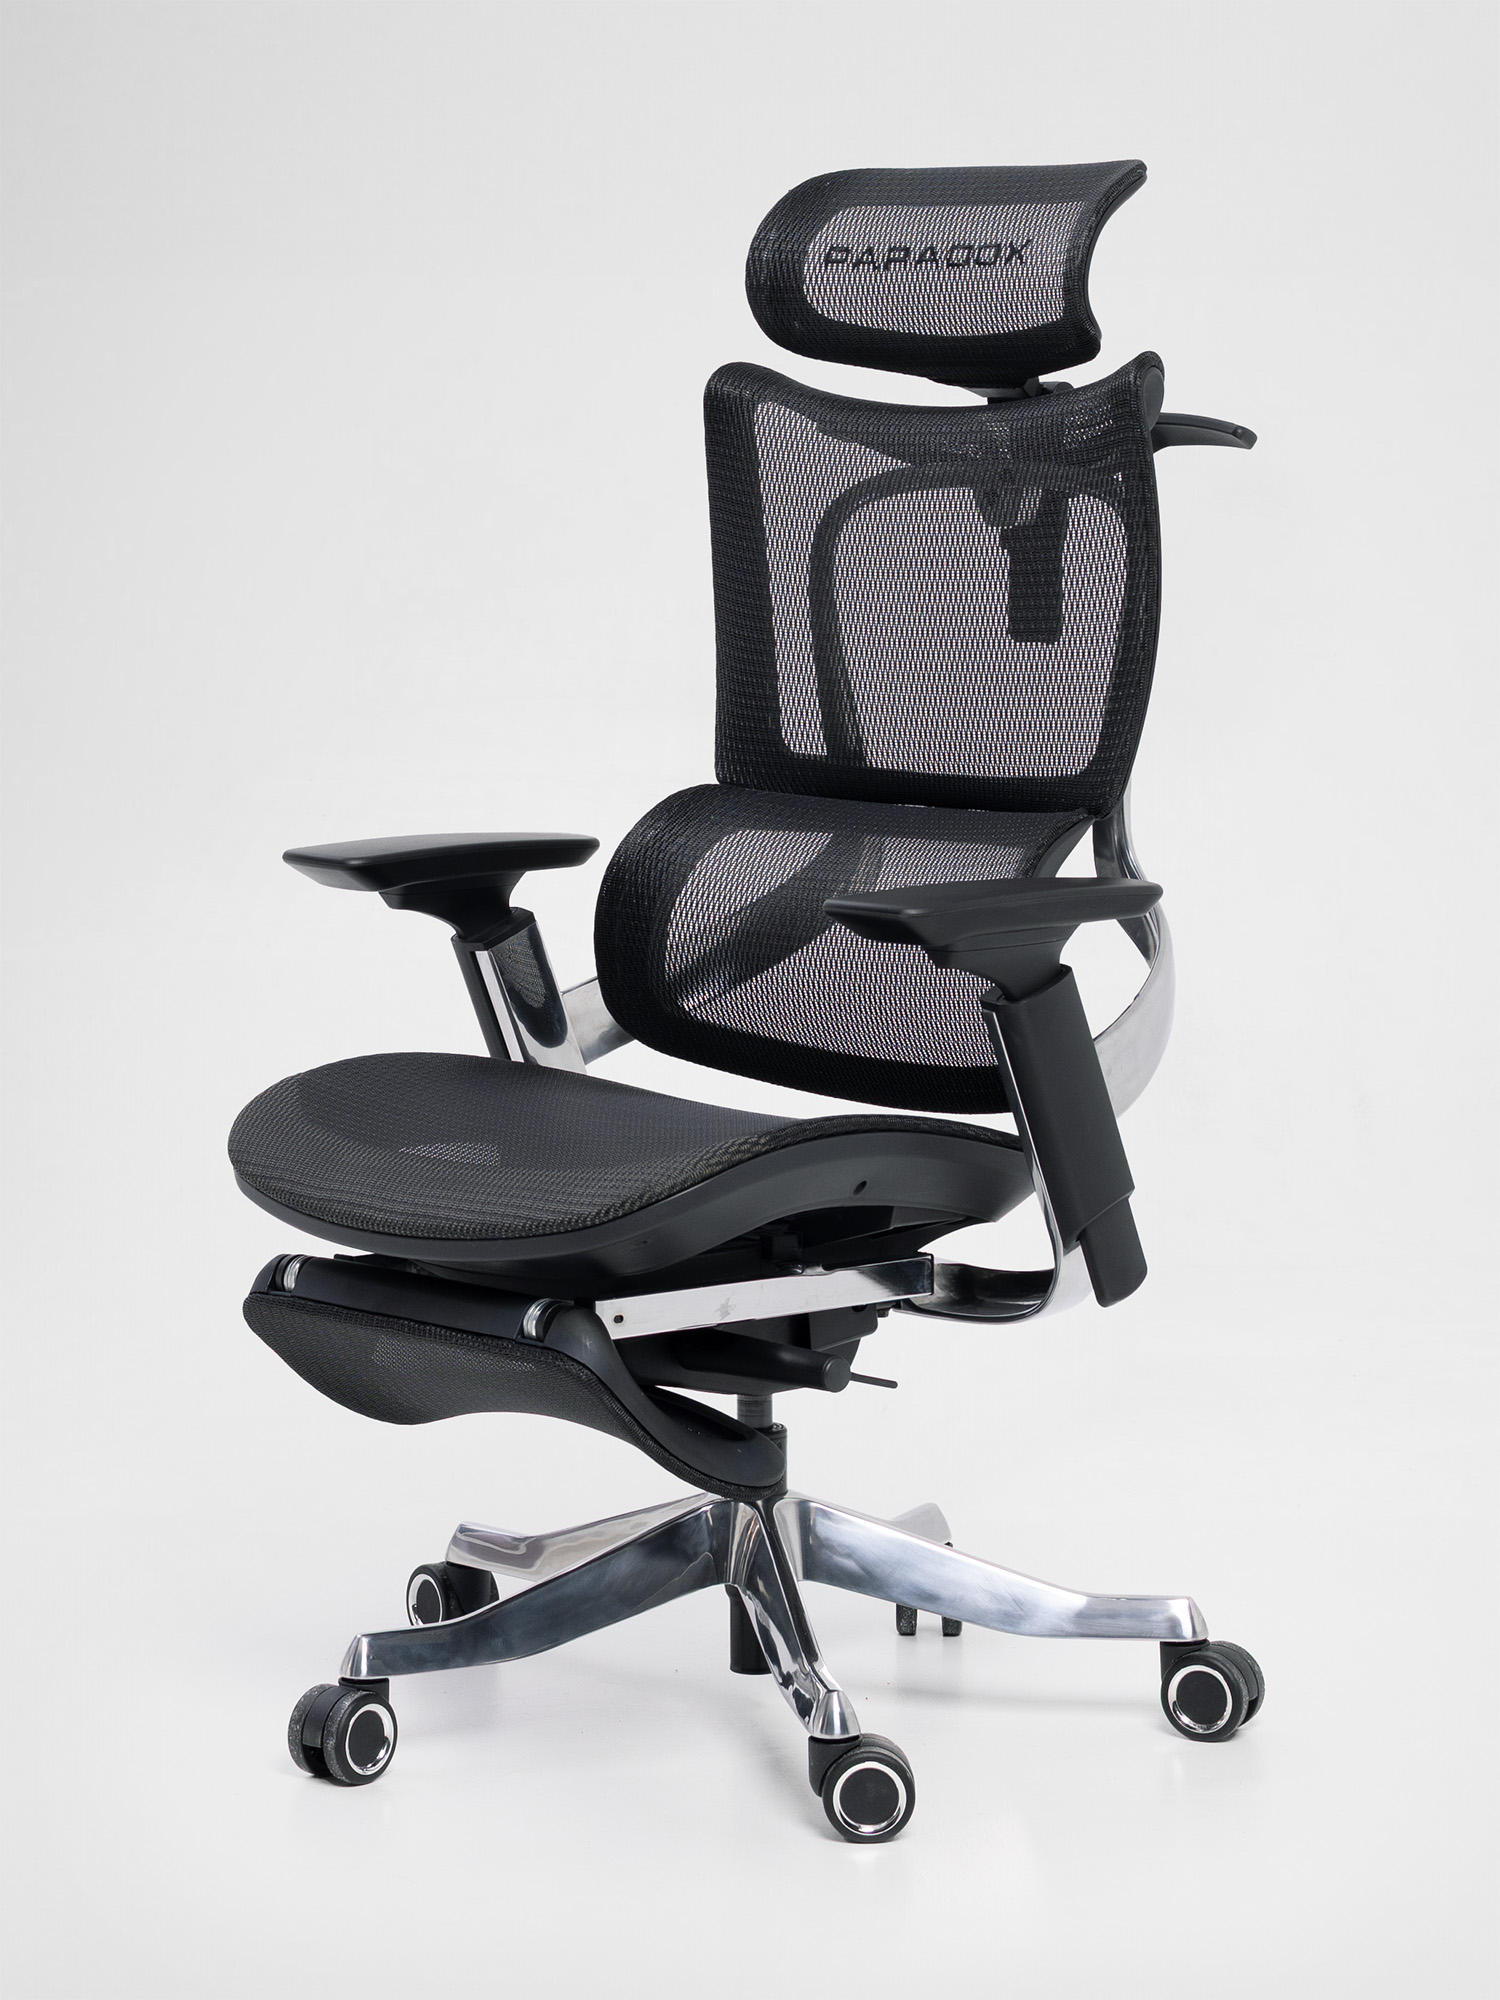
Congratulations on choosing the Ergo One. If you are reading this guide, you have probably already received your chair and are ready to adjust it to your body and working position.
Correct adjustment helps the chair support your posture, reduce unnecessary pressure and remain comfortable throughout the day. In this guide, we will explain each adjustment step by step—from the headrest and lumbar support to the seat, armrests and reclining mechanism.
Contents
Click a link to jump directly to the relevant section.
1. Adjusting the headrest
The Ergo One headrest can be adjusted in two dimensions:
- height — up and down
- angle — forward and backward tilt
Adjusting the height
- Stand behind the chair.
- Hold the headrest firmly with both hands.
- Pull it upwards or push it downwards.
- Stop when the headrest reaches the desired height.
Adjusting the angle
- Hold both sides of the headrest.
- Rotate it forward or backward.
- Set the angle so that the headrest follows the natural position of your head and upper neck.
Finding the correct position
The headrest should comfortably support the base of your skull and the upper part of your neck. It should not push your head forward.
Keep your head naturally balanced above your shoulders and adjust the height and angle until you feel support without pressure.
2. Adjusting the backrest height
The Ergo One backrest offers 13 height positions, allowing you to place the lumbar support at the correct level for your body.
Raising the backrest
- Stand behind the chair.
- Hold both sides of the backrest firmly.
- Pull the backrest slightly upwards.
- Stop when it reaches the desired height.
You will hear clicks as the backrest moves. Each click corresponds to one locking position.
Lowering the backrest
- Pull the backrest all the way to its highest position.
- The adjustment mechanism will release.
- Slide the backrest down to its lowest position.
- Raise it again until you reach the preferred height.
Finding the correct lumbar-support position
The lumbar support moves together with the backrest. Adjust the backrest so that its most prominent section follows the natural inward curve of your lower back—approximately around the belt-line area.
The lumbar support should:
- maintain the natural curve of your lower back
- provide noticeable but comfortable support
- not press against your pelvis
- not sit too high in the middle of your back
Sit fully against the backrest while testing different positions. The correct setting should support your lower back without creating a concentrated pressure point.
3. Adjusting the seat
Correct seat adjustment is essential for a comfortable working position. The Ergo One seat can be adjusted in two ways:
- height
- depth
Adjusting the seat height
The height-adjustment lever is located underneath the seat on the right-hand side.
Important: rotate the lever—do not push it down.
Raising the seat
- Sit on the chair and locate the lever on your right-hand side.
- Rotate the lever.
- Lift some of your body weight off the seat.
- Allow the gas lift to raise the seat.
- Release the lever at the desired height.
Lowering the seat
- Remain seated with your weight on the chair.
- Rotate the same lever.
- Allow the seat to lower under your body weight.
- Release the lever at the desired height.
Finding the correct seat height
Adjust the seat so that:
- your feet rest flat on the floor
- your knees are bent at approximately 90 degrees
- your thighs are roughly parallel to the floor
- your hips are level with or slightly higher than your knees
- your shoulders remain relaxed when working at the desk
Your forearms should rest comfortably on the desk or armrests without raising your shoulders.
If the desk requires a higher chair position and your feet no longer reach the floor comfortably, use a separate ergonomic footrest. Do not lower the chair if doing so forces you to raise your shoulders or wrists while working.
Adjusting the seat depth
The seat-depth lever is located underneath the seat on the left-hand side.
- Remain seated and locate the lever on your left.
- Pull the lever upwards.
- While holding it, slide the seat forward or backward.
- Release the lever to lock the seat in position.
Finding the correct seat depth
Sit with your back fully supported by the backrest. Adjust the seat so that there is approximately 3–5 cm, or about two to three fingers, between the front edge of the seat and the back of your knees.
The seat should support most of your thighs without pressing against the area behind your knees.
- Move the seat backward if its edge presses against your legs or restricts movement.
- Move it forward if too much of your thighs remains unsupported.
- Make sure you can maintain full contact with the backrest without pressure behind your knees.
4. Using the synchro reclining mechanism
The Ergo One is equipped with a synchro reclining mechanism. When you lean backwards, the backrest and seat move together in a coordinated motion, but at different angles. The backrest reclines more than the seat, keeping your body supported and maintaining a comfortable angle between your torso and thighs.
The mechanism can remain unlocked, allowing the chair to follow your movements, or it can be locked at different angles for working, talking or relaxing.
There is no single perfect sitting position for the entire day. Changing posture regularly is one of the most important principles of ergonomic sitting. Even a well-adjusted position should not be maintained continuously.
Unlocking the backrest
The recline-control lever is located underneath the seat on the right-hand side.
- Sit with your back supported by the backrest.
- Reach for the lever on your right.
- Pull it outwards, away from the chair.
- Lean backwards to activate the reclining movement.
With the lever pulled out, the mechanism remains unlocked, allowing you to rock gently and change position naturally while sitting.
Locking the backrest
- Lean backwards until you reach the desired position.
- Push the lever inwards, towards the chair.
- Gently shift your weight until the mechanism engages.
Choosing your position
Upright position — focused work
Use the upright position for:
- typing
- working with a mouse
- writing
- tasks requiring concentration
Your back should remain fully supported, your shoulders relaxed and your arms positioned comfortably in relation to the desk.
Partially reclined position — calls and relaxed work
A moderately reclined position is useful for:
- phone and video calls
- reading
- reviewing documents
- watching presentations
- less intensive computer work
Opening the angle between your torso and thighs provides a comfortable change from upright sitting while the backrest continues to support your spine.
Fully reclined position — rest and reflection
Use the fully reclined position together with the extended footrest when you want to:
- take a short break
- make a longer phone call
- listen to a presentation
- think through a problem
- briefly relax between tasks
With your legs supported, your body weight is distributed across the seat, backrest, headrest and footrest rather than being concentrated mainly on the seat. This creates a relaxed, open posture inspired by the zero-gravity seating positions found in some premium cars.
It is not a medical zero-gravity position, but it provides an excellent way to change posture, take pressure off your usual sitting points and give your postural muscles a short break.
Keep moving
Use the different positions throughout the day rather than searching for one permanent setting:
- work upright
- recline slightly during calls or reading
- fully recline with the footrest during a short break
- occasionally leave the mechanism unlocked and allow the chair to follow your movement
The best ergonomic position is usually your next position.
5. Adjusting the recline tension
The recline tension determines how much force is required to lean the backrest backwards. It should be adjusted to your body weight and preferred movement.
- Lighter users will generally need lower tension.
- Heavier users will generally need higher tension.
The correct setting allows you to control the reclining movement comfortably. The backrest should neither drop backwards too easily nor require you to fight against it.
Adjusting the tension
The tension-adjustment knob is located underneath the seat.
- Turn the knob repeatedly in one direction to change the resistance.
- Make approximately 10–15 complete turns.
- Sit back and test the reclining movement.
- Continue turning in the same direction if more adjustment is needed.
- If the resistance changes in the wrong direction, turn the knob the opposite way.
The mechanism requires quite a few rotations, so a few turns may not produce a noticeable difference.
Finding the correct tension
The setting is correct when:
- you can begin reclining with moderate pressure from your back
- the backrest moves smoothly and predictably
- you remain in control throughout the movement
- you do not feel as though you are falling backwards
- you do not need to push forcefully to make the backrest move
Test the chair after every 10–15 turns and continue adjusting until the movement feels naturally balanced for your body.
6. Using the footrest
The footrest is designed primarily for use with the backrest in its fully reclined position. Supporting your legs distributes your body weight more evenly across the seat, backrest, headrest and footrest, creating a comfortable position for short periods of rest.
Extending the footrest
- Reach underneath the front of the seat.
- Pull the footrest assembly completely out from underneath the chair.
- Hold the mesh support platform.
- Rotate the platform upwards.
- Stop when it reaches your preferred position.
You will hear clicks as the platform moves. The footrest can be locked in two positions:
- Position 1 provides moderate leg support.
- Position 2 fully extends the support and will generally be the most comfortable setting.
Recommended use
Use the footrest together with the fully reclined backrest when you want to:
- take a short break
- make a relaxed phone call
- watch or listen to a presentation
- briefly change the way your body is supported
Your legs should rest comfortably on the mesh platform without excessive pressure behind your knees or beneath your thighs.
Folding the footrest
- Remove your feet from the platform.
- Rotate the mesh platform all the way upwards.
- Reaching its highest position will release the locking mechanism.
- Fold the platform back down.
- Slide the complete footrest assembly underneath the seat.
Make sure the platform is fully folded before sliding the footrest back under the chair.
7. Adjusting the armrests
The Ergo One is equipped with multidirectional armrests that can be adjusted to support different body types, desk configurations and activities.
The armrests can be adjusted in four ways:
- up and down
- forward and backward
- inward and outward
- rotated left and right
They also follow the movement of the reclining mechanism, helping to maintain forearm support when you lean backwards.
Adjusting the height
The height-adjustment button is located on the outside of the armrest, underneath the armrest pad.
- Press and hold the button.
- Move the armrest upwards or downwards.
- Release the button to lock it at the desired height.
Adjusting the armrest pad
Hold the pad and move it into the required position. You can:
- slide it forward or backward
- slide it inward or outward
- rotate it to the left or right
These adjustments allow the pad to support your forearm while keeping your hand comfortably aligned with your keyboard, mouse or other work surface.
Finding the correct height
Adjust the armrests so that your forearms rest on them lightly while your shoulders remain relaxed.
As a general guide:
- keep your elbows close to your body
- maintain an elbow angle of approximately 90–110 degrees
- keep your wrists straight and aligned with your forearms
- position the pads approximately level with, or slightly below, the desk surface
If the armrests are too high, they will push your shoulders upwards. If they are too low, your arms will hang without support, potentially causing you to lean forward or to one side.
The pads should support the softer part of your forearms rather than pressing directly against the points of your elbows.
Adjusting the armrests for different tasks
There is no single armrest position suitable for every activity. Adjust them depending on what you are doing:
- Typing: keep the pads relatively close to your body, with your forearms aligned towards the keyboard.
- Using a mouse: move the corresponding pad slightly forward or rotate it towards the mouse to reduce reaching.
- Writing or drawing: lower or move the armrests outward if you need more freedom of movement.
- Reading or making calls: position the pads wherever your arms feel naturally supported.
- Reclining: allow the armrests to follow the chair’s movement and support your forearms in the relaxed position.
The correct setting should support your arms without raising your shoulders, restricting movement or preventing you from sitting close enough to the desk.