English
 Español
 Deutsch
 Français
 Čeština
 Slovenčina
 Dansk
Dansk Magyar
 Italiano
 Nederlands
 Polski
 Română
 Svenska
 Українська

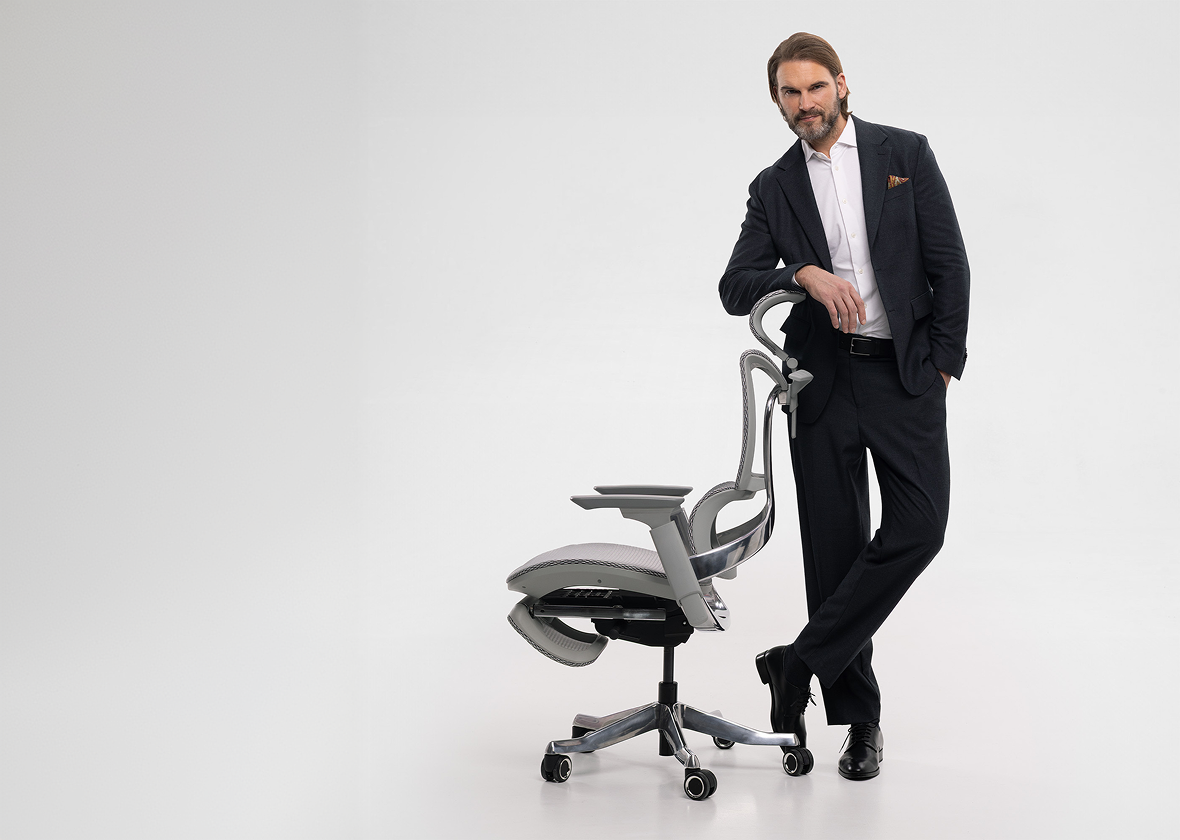
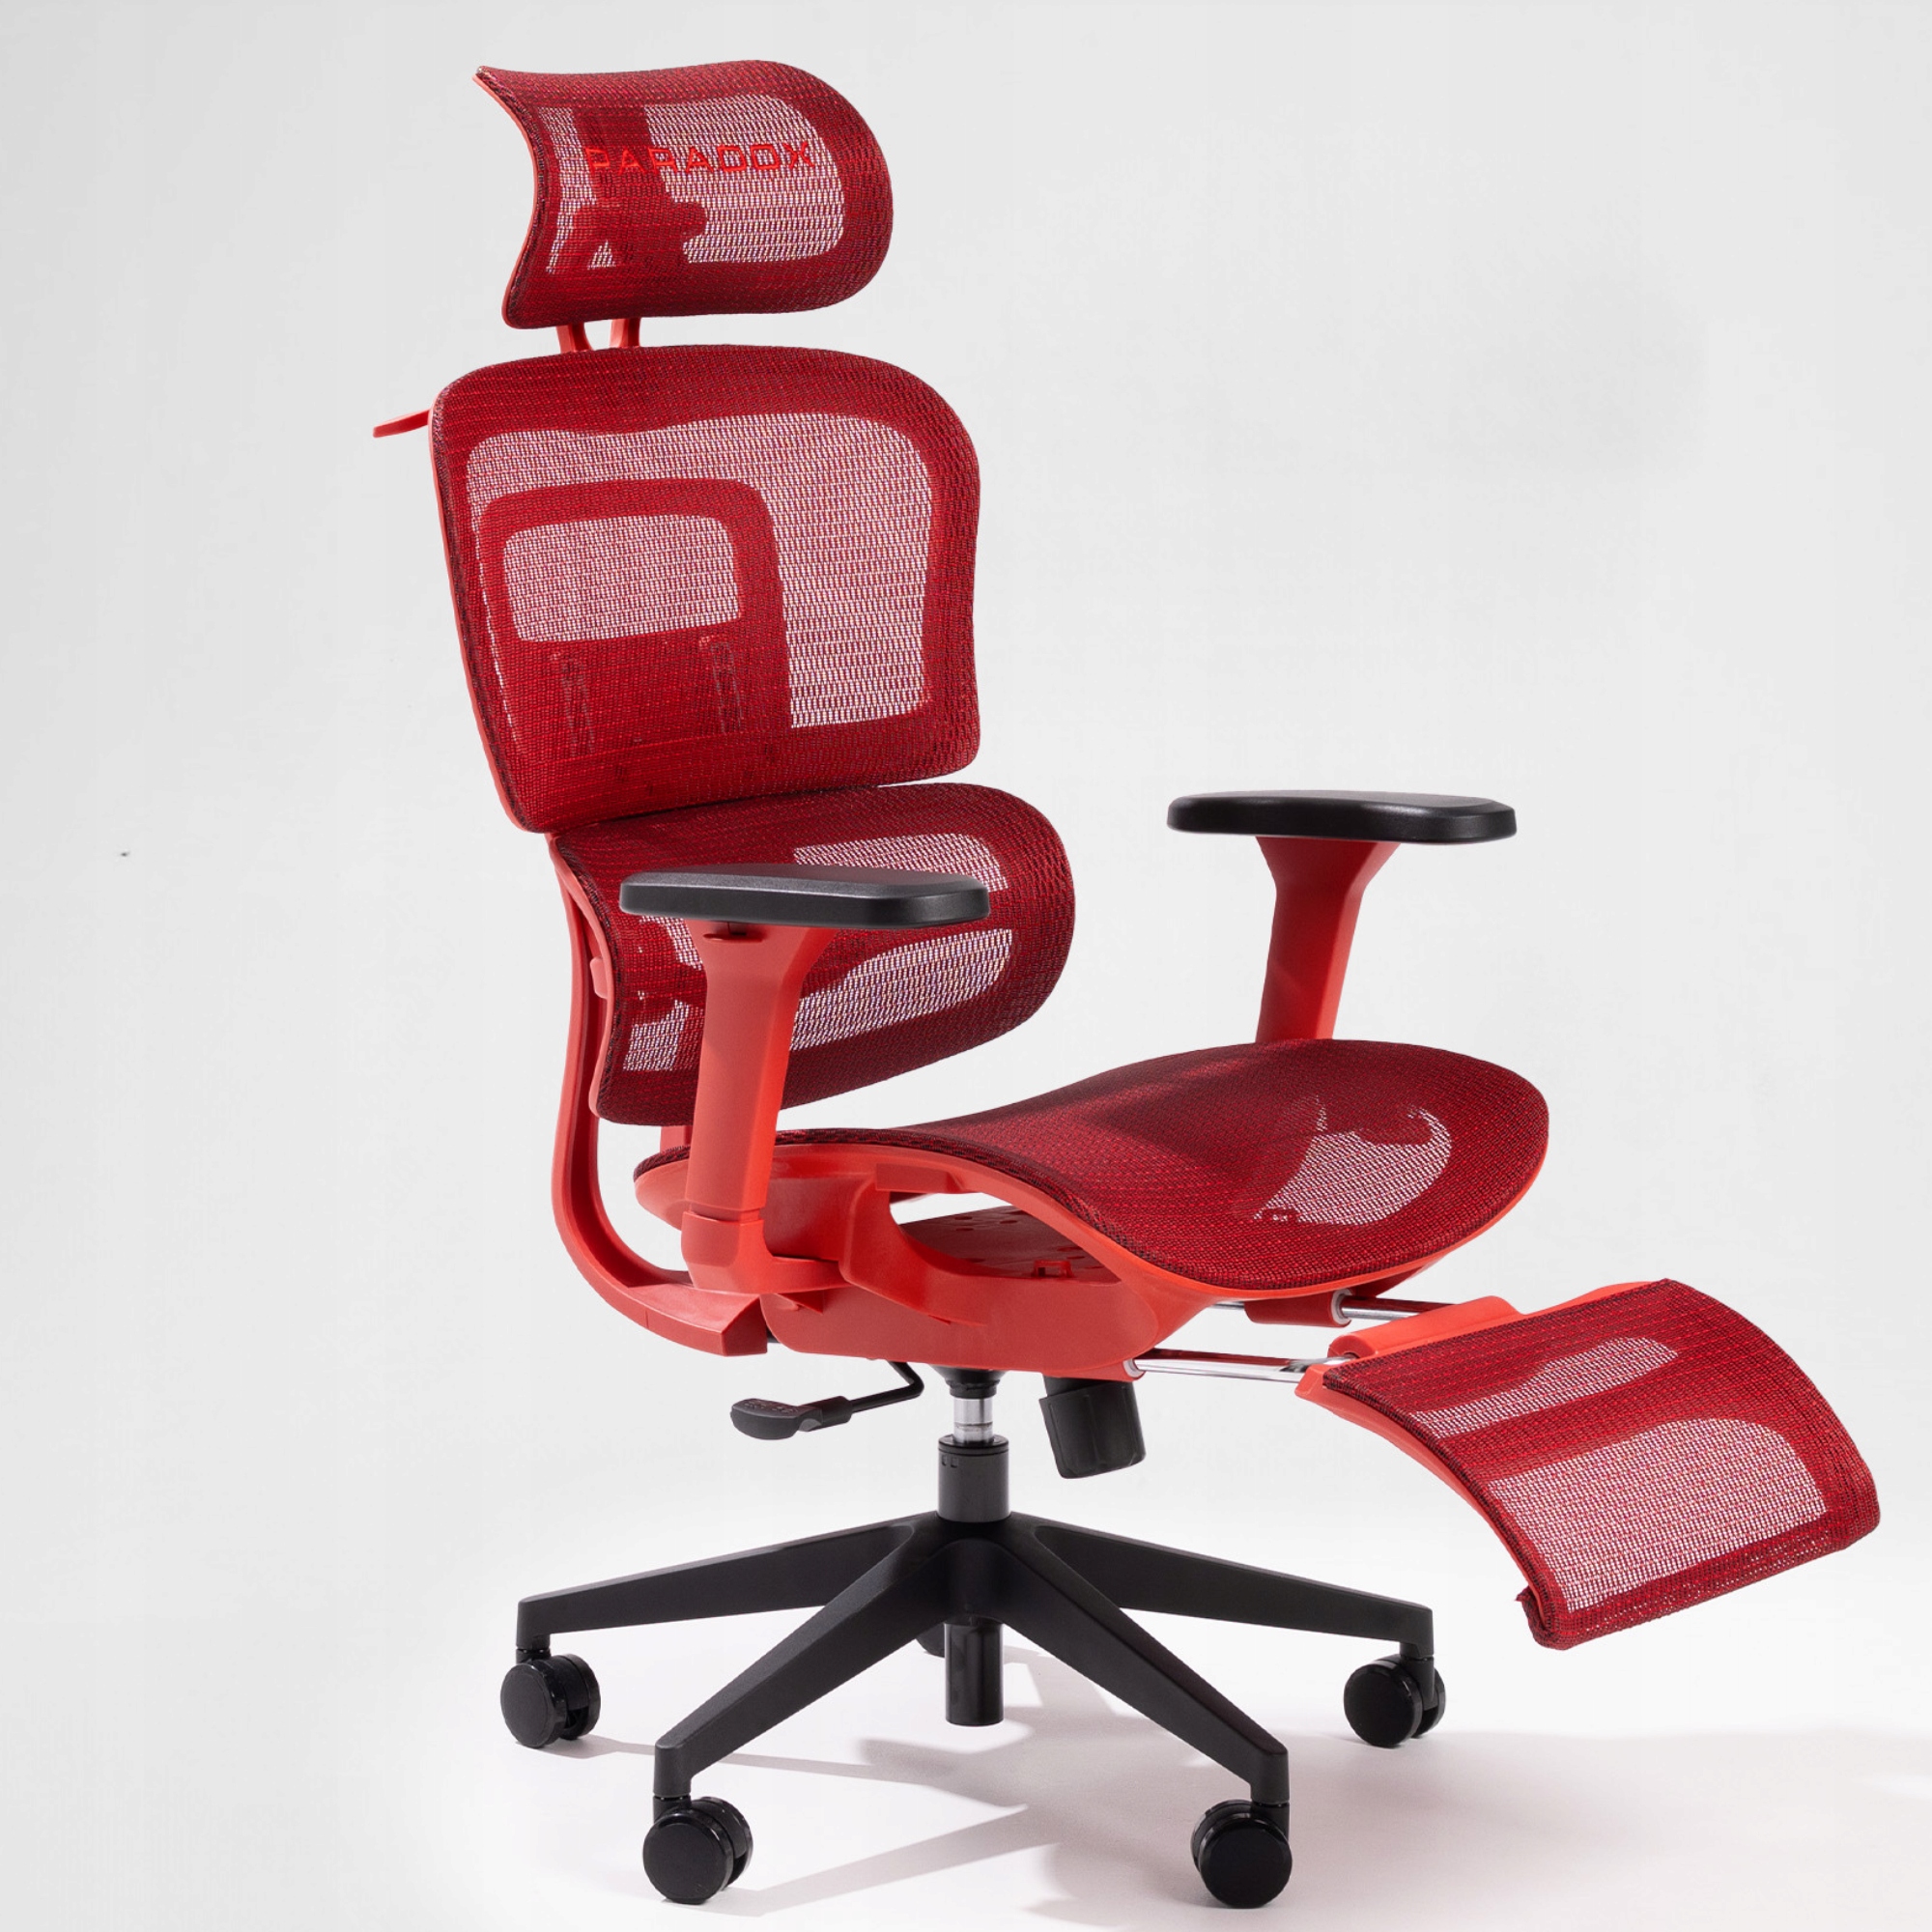
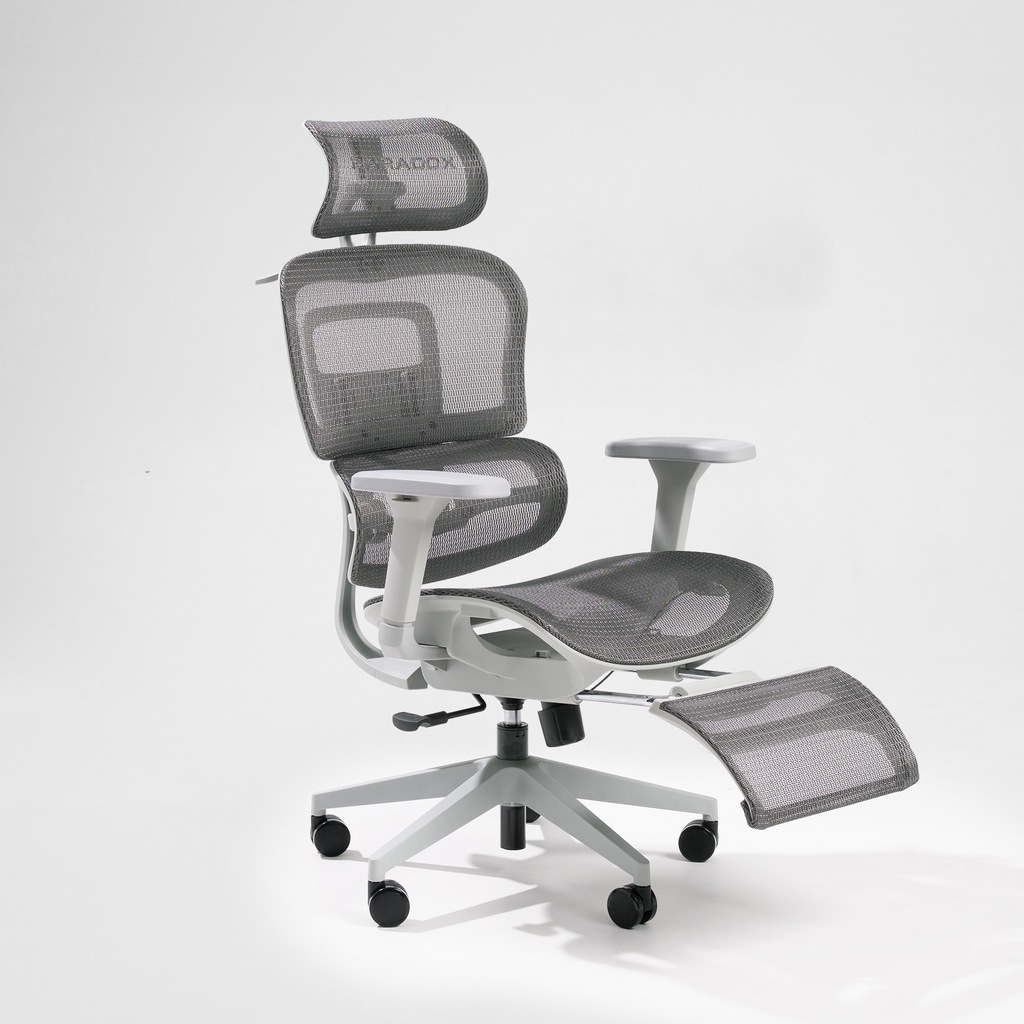
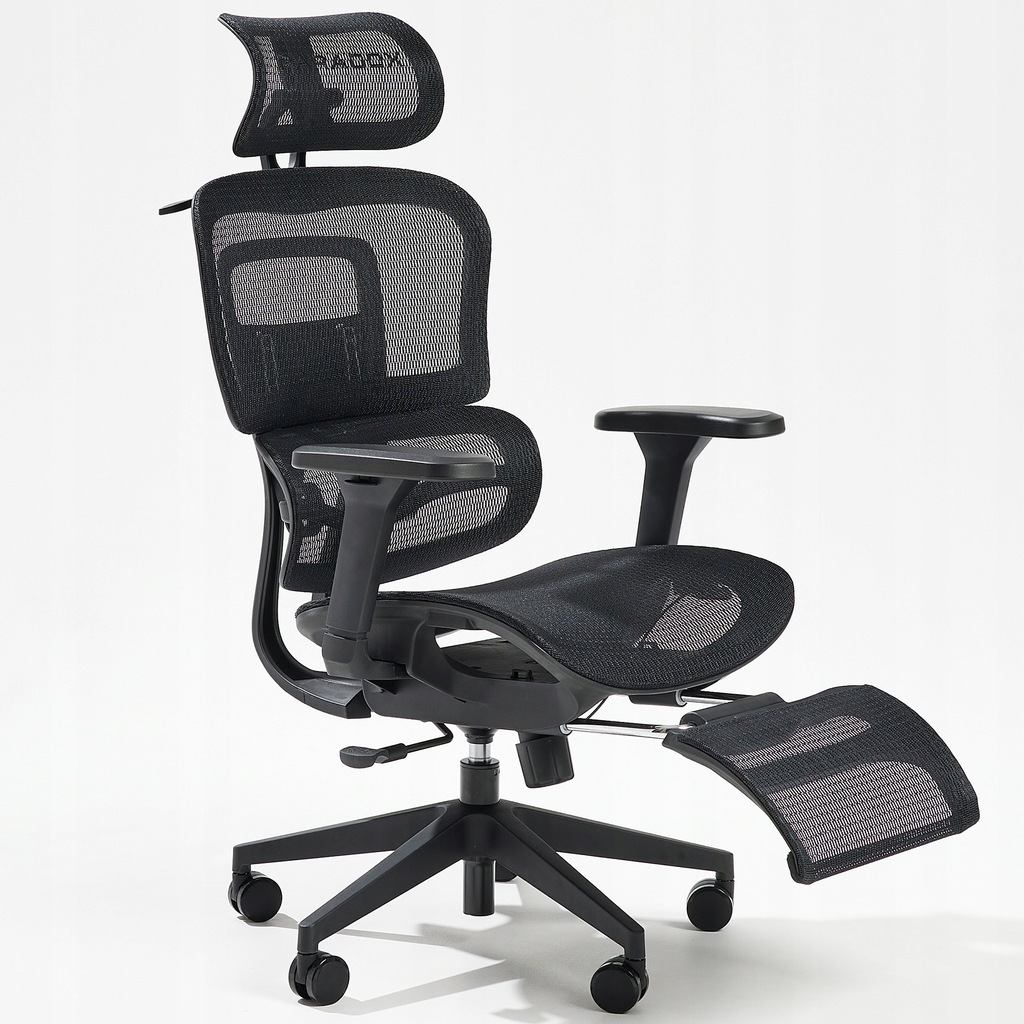
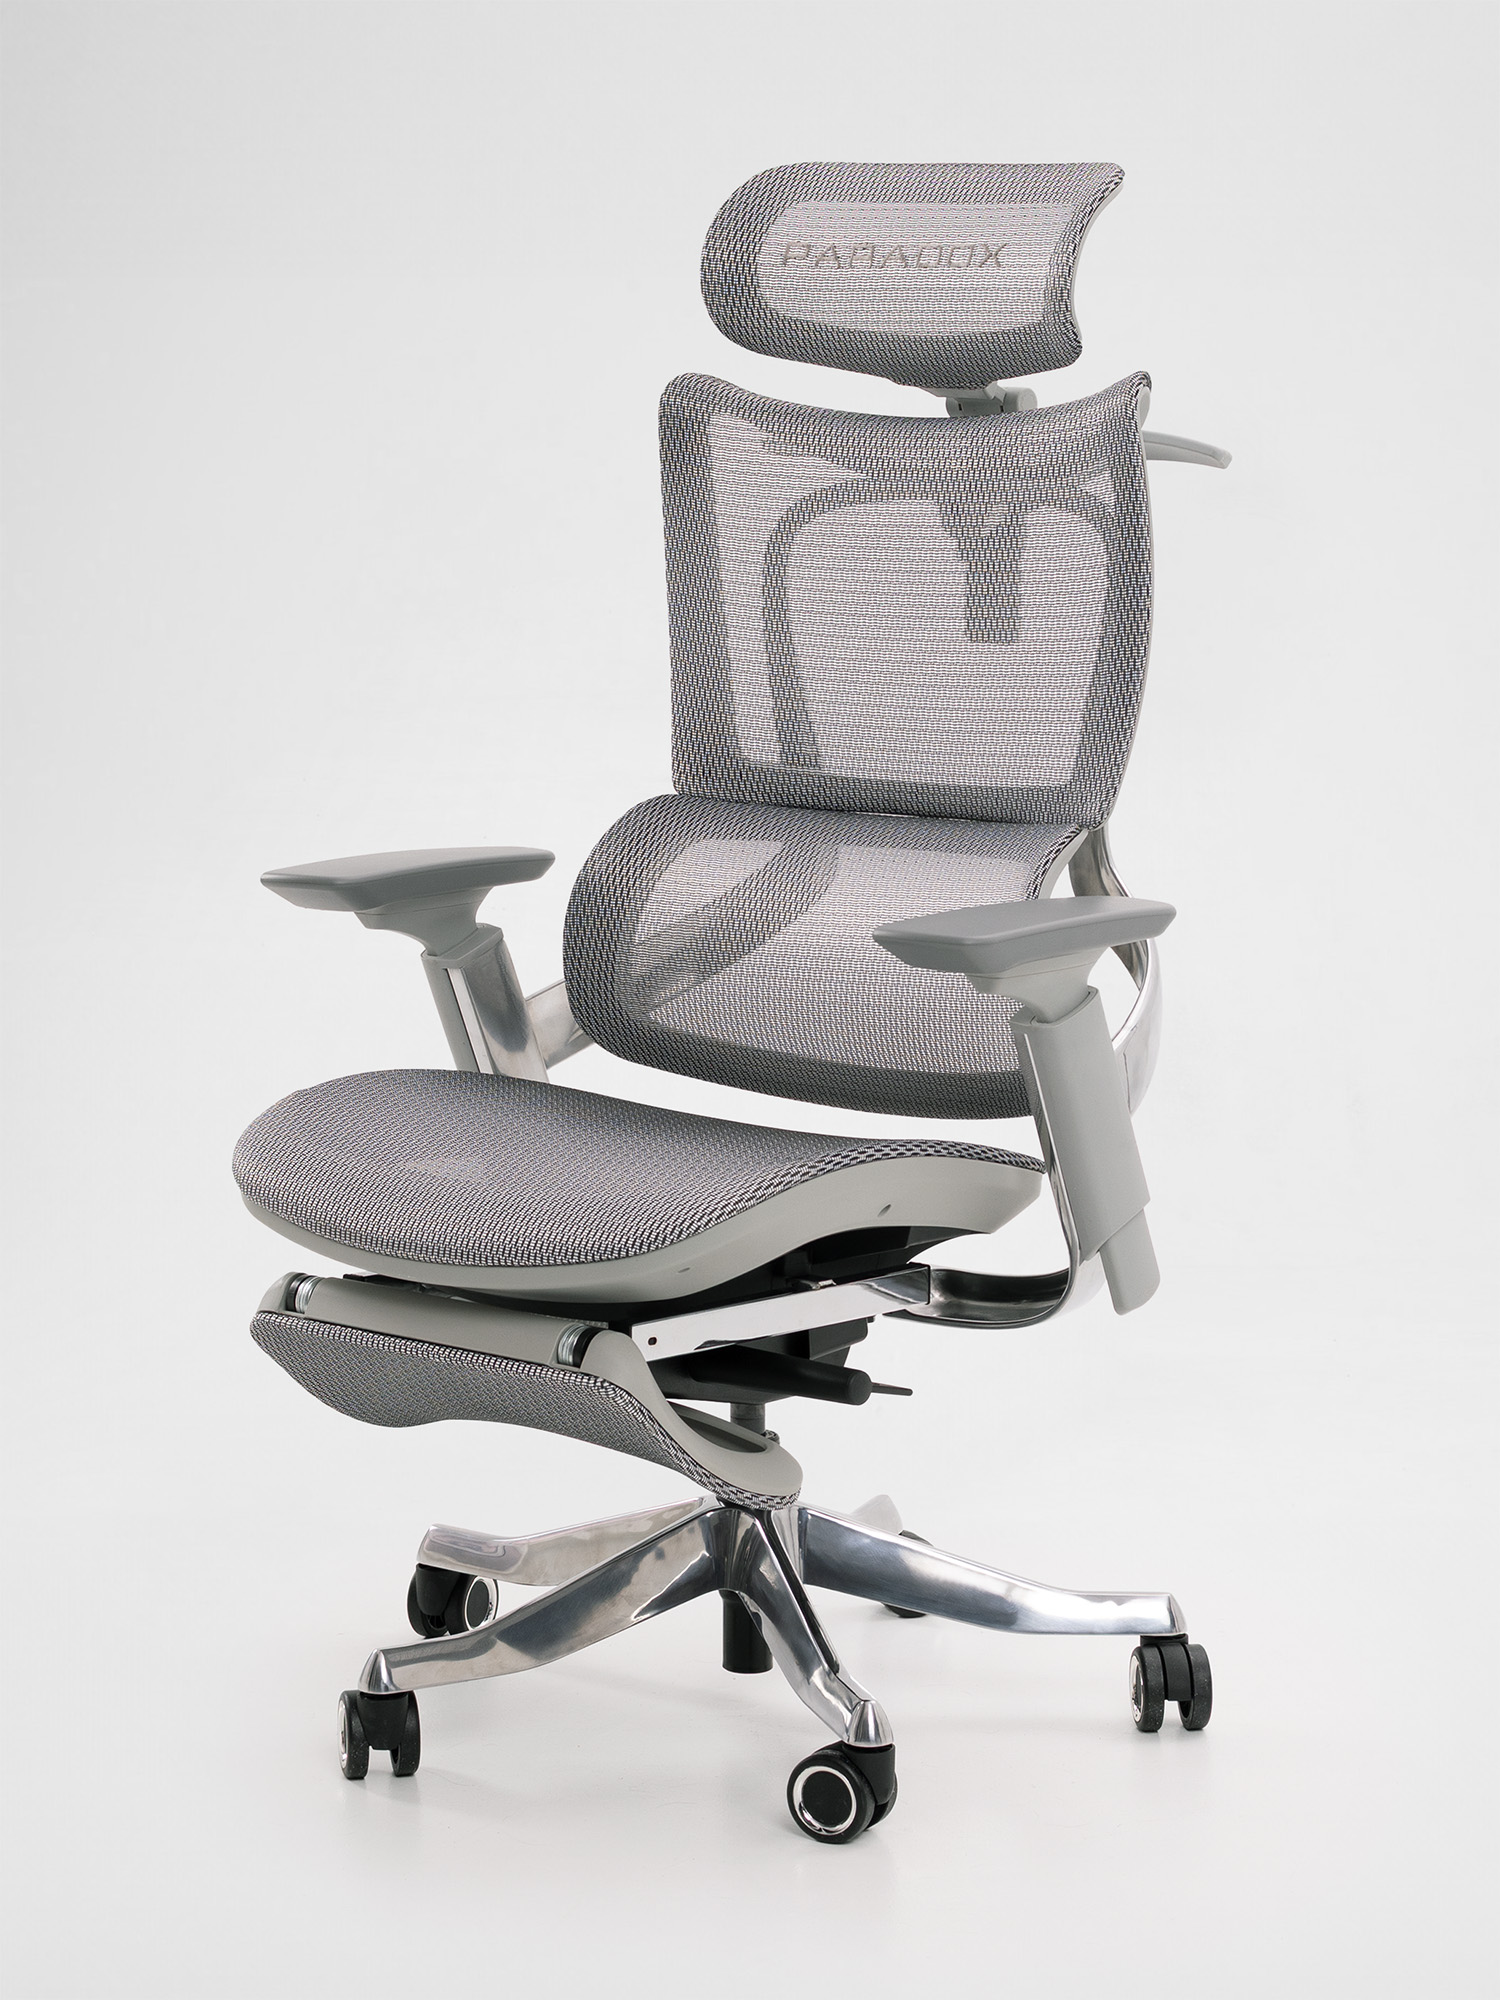
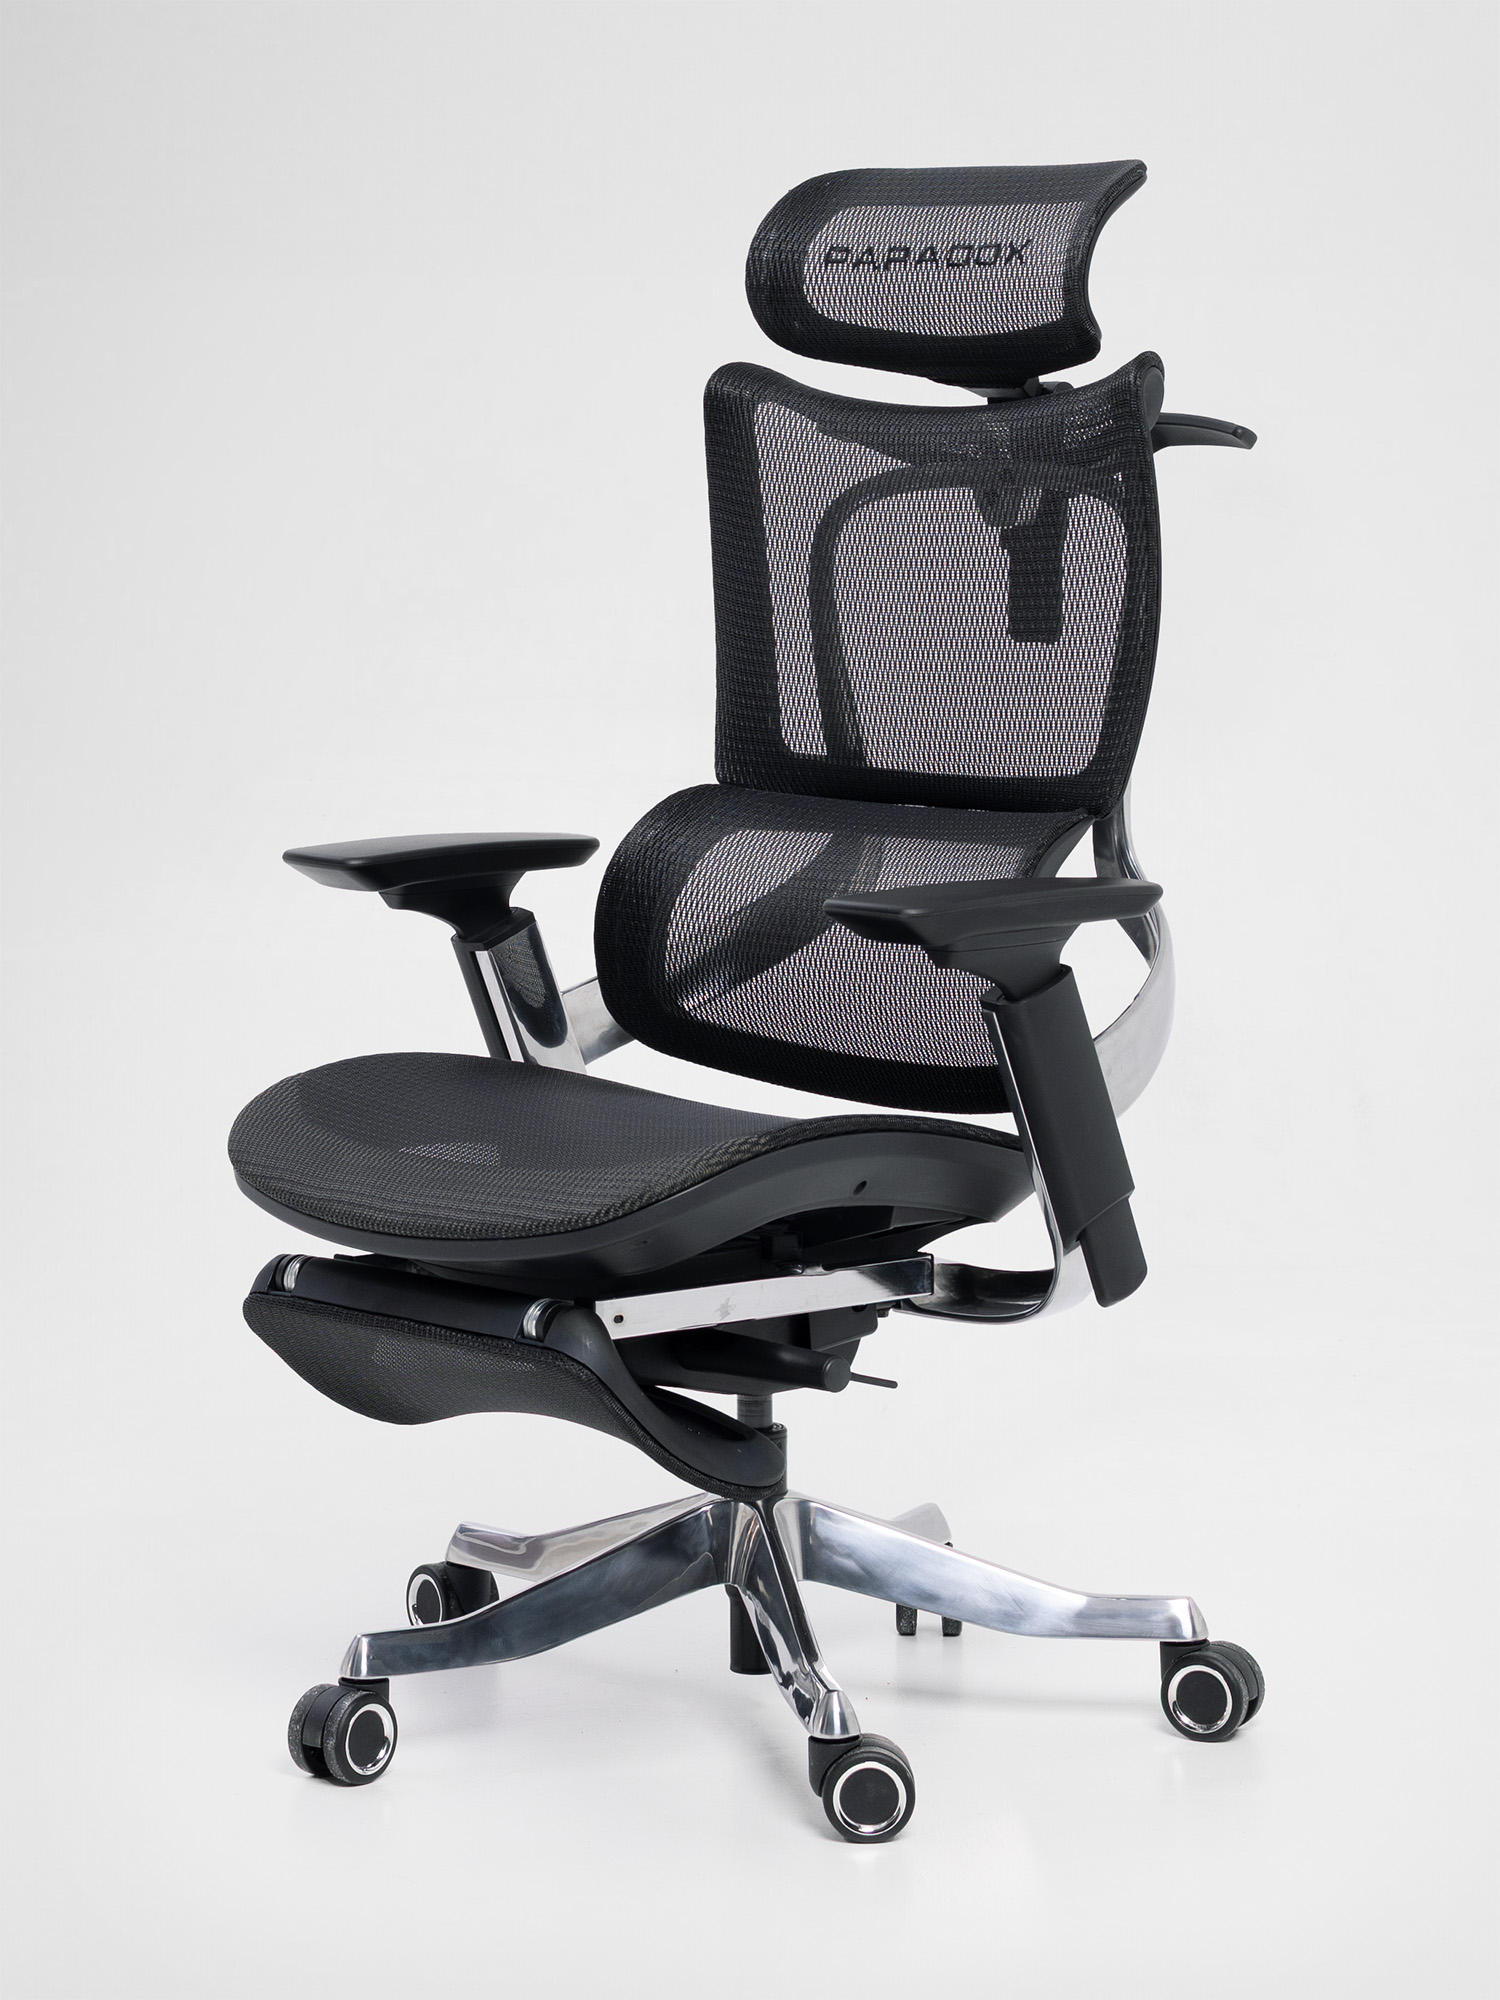
Congratulations on your Ergo Milano Pro. You have chosen a chair designed for serious daily comfort, with a highly adjustable headrest, backrest, seat, armrests and reclining mechanism. This guide will help you set each feature correctly, so the chair supports your body and the way you work.
Contents
Click a link to jump directly to the relevant section.
1. Adjusting the headrest
The headrest of the Ergo Milano Pro can be adjusted in three dimensions:
- height — up and down
- depth — forward and backward
- angle
Adjusting the height
Stand behind the chair and hold the headrest with both hands. Pull it upwards until it reaches the desired height. You will hear clicks as it moves—each click indicates a locked position.
To lower the headrest, first pull it all the way to its highest position. This releases the adjustment mechanism, allowing you to slide it back down. Then raise it again to the required height.
Adjusting the depth
Stand behind the chair, place both thumbs against the rear of the headrest and push it forward. You will hear clicks, with each click locking the headrest in the next position.
To move it backward, first push it all the way forward. The mechanism will then release, allowing the headrest to return to its rearmost position. Push it forward again if an intermediate position is required.
Adjusting the angle
Hold the headrest with both hands and tilt it until it comfortably follows the shape of your head and upper neck.
The headrest should support the base of your skull and the upper part of your neck without pushing your head forward. Your head should remain balanced naturally above your shoulders.
2. Adjusting the backrest height
The backrest has nine height positions, allowing you to place the lumbar support at the correct level for your body.
Raising the backrest
- Stand behind the chair.
- Hold both sides of the aluminium frame firmly.
- Pull the frame upwards evenly with both hands.
- Stop at the desired position.
You will hear clicks as the backrest moves. Each click indicates a locked position. There are 9 positions at which you can lock the backrest.
Lowering the backrest
- Pull the backrest all the way to its highest position.
- The adjustment mechanism will unlock.
- Slide the backrest down to its lowest position.
- Raise it again until you reach your preferred height.
When one side of the backrest is stuck
If one side moves while the other remains stuck:
- Hold both sides of the aluminium frame.
- Pull both sides evenly all the way to the top.
- The mechanism will reset and unlock.
- Slide the entire backrest down.
- Raise it again to the desired position.
Finding the correct position
The lumbar support should follow the natural inward curve of your lower back. It should not press against your pelvis or sit too high in the middle of your back.
3. Adjusting the seat
The seat can be adjusted in three ways:
- height
- depth
- angle
Adjusting the seat height
On the right-hand side of the seat, you will find two controls:
- the first is the tension adjustment crank,
- the second is the seat-height lever.
Pull the second lever upwards to activate the gas lift.
Raising the seat
- Lean forward and lift some of your weight off the seat.
- Pull the seat-height lever upwards.
- Allow the gas lift to raise the seat.
- Release the lever at the desired height.
Lowering the seat
- Remain seated and keep your weight on the seat.
- Pull the seat-height lever upwards.
- The seat will lower under your weight.
- Release the lever at the desired height.
Finding the correct height. Your feet should rest flat on the floor, with your knees bent at approximately 90 degrees. Your thighs should be roughly parallel to the floor.
If adjusting the chair to your desk leaves your feet unsupported, use a footrest rather than lowering the chair and compromising your position at the desk.
Adjusting the seat depth
The seat-depth lever is located underneath the seat on the right-hand side. It is marked with an arrow.
Moving the seat forward or backward
- Remain seated and reach underneath the right-hand side of the seat.
- Pull the lever marked with an arrow upwards.
- While holding the lever, slide the seat forward or backward.
- Release the lever to lock the seat in position.
Finding the correct seat depth. Sit with your back fully supported by the backrest. Adjust the seat so that there is a gap of approximately 3–5 cm, or about two to three fingers, between the front edge of the seat and the back of your knees.
The seat should support most of your thighs without pressing against the area behind your knees. If the edge of the seat touches your calves or restricts circulation, move the seat backward. If too much of your thighs remains unsupported, move it forward.
Adjusting the seat angle
Seat-angle adjustment is an advanced setting used to fine-tune pressure distribution and support a comfortable pelvic position. Adjust the height and depth of the seat first, then change its angle only if additional correction is needed.
Changing the seat angle
- Reach underneath the seat on the right-hand side.
- Locate the lever positioned at the very back.
- Rotate the lever to unlock the seat-angle mechanism.
- Adjust the front of the seat upwards or downwards to the desired position.
- Rotate the lever back to lock the seat securely.
Finding the correct angle. For most users, a neutral or nearly horizontal seat position is the best starting point.
- Lower the front slightly if you feel excessive pressure underneath your thighs or prefer a more open hip angle.
- Raise the front slightly if you want additional support beneath your thighs and do not feel pressure behind your knees.
The adjustment should be subtle. The seat should distribute your weight evenly without pressing against the backs of your thighs, restricting movement or causing you to slide forward.
A slight forward angle can also support a more active sitting position by opening the angle between your torso and thighs. However, if you feel yourself sliding forward or losing contact with the backrest, return the seat closer to its neutral position.
4. Using the reclining mechanism
The Ergo Milano Pro uses an advanced Donati synchro-tilt mechanism. When you lean back, the backrest and seat move together in a coordinated motion, but at different angles. This supports your body throughout the movement and helps you maintain a comfortable position instead of simply tipping the entire chair backward.
The backrest can be locked in three positions:
- upright for focused work,
- partially reclined for relaxed work or conversation,
- fully reclined for resting.
Unlocking the backrest
The recline-control lever is located underneath the seat on the left-hand side.
- Reach underneath the left-hand side of the seat.
- Push the lever down.
- Lean backward to activate the rocking movement.
When the lever is in the down position, the backrest remains unlocked and follows your movement.
Locking the backrest
- Lean back until you reach one of the three locking positions.
- Move the left-hand lever upwards.
- Gently shift your weight until the mechanism engages and locks.
The backrest can be locked upright, partially reclined or fully reclined.
Using the fully reclined position
In the most reclined position, you can extend the footrest and support your entire body. This creates a relaxed, open posture similar in principle to the “zero-gravity” seating positions found in some premium cars.
This position:
- distributes your body weight across a larger support area,
- reduces continuous pressure on the legs and lower back,
- allows your postural muscles to relax,
- provides a comfortable position for a short break.
It is not a medical zero-gravity position, but it can provide welcome relief from prolonged upright sitting.
Recommended use
Use the upright position for concentrated desk work and the partially reclined position for reading, calls or less intensive tasks. The fully reclined position with the footrest is intended primarily for short periods of rest.
Changing position regularly is generally more beneficial than trying to maintain one “perfect” sitting position throughout the day.
5. Adjusting the backrest recline tension
Recline tension determines how much force is required to lean the backrest backwards. Correct adjustment is important because users of different heights, body shapes and weights apply different amounts of pressure to the backrest.
- If the tension is too low, the backrest may move backwards too easily and create a sensation of falling.
- If the tension is too high, reclining will require excessive force or may feel impossible.
The correct setting should allow you to recline smoothly while remaining in control of the movement.
Locating the adjustment crank
The recline-tension control is the small folding crank located underneath the seat on the right-hand side.
Increasing or decreasing the tension
- Unfold the crank handle.
- Turn it repeatedly in the appropriate direction.
- Recline to test the new setting.
- Continue adjusting until the backrest follows your movement comfortably.
The mechanism may require quite some complete turns before you notice a significant difference in tension. Keep cranking!
Finding the correct tension
As a general rule:
- heavier users will usually need higher tension,
- lighter users will usually need lower tension.
A good setting allows you to begin reclining with moderate pressure from your back while preventing the backrest from dropping backwards abruptly. You should be able to move between upright and reclined positions smoothly, without fighting the mechanism or feeling unsupported.
Adjust the tension gradually and test it after every 10–15 turns. The goal is not maximum resistance, but a balanced movement suited to your body.
6. Using the footrest
The footrest is most useful when the backrest is fully reclined. Supporting the legs helps distribute your body weight across a larger area, reduces pressure beneath the thighs and provides a more comfortable position for short periods of rest.
Extending the footrest
- While seated, place your feet apart to create space in front of the chair.
- Reach underneath the front of the seat.
- Pull the footrest assembly fully forward.
- Hold the mesh support platform and rotate it upwards.
- Stop when you reach the desired angle.
You will hear clicks as the platform moves. Each click represents a locking position, although the fully extended position will generally provide the most comfortable leg support.
Retracting the footrest
- Remove your feet from the footrest.
- Rotate the mesh support platform all the way upwards.
- Reaching its highest position will release the locking mechanism.
- Fold the platform back down.
- Slide the complete footrest assembly underneath the seat.
Ensure that the footrest is fully folded before pushing it underneath the chair.
Recommended use
Use the footrest together with the fully reclined backrest when taking a short break. Your legs should feel supported without excessive pressure beneath the thighs or behind the knees.
The footrest is intended for relaxation rather than as permanent leg support during upright desk work. For an upright working position, keep your feet flat on the floor or use a separate ergonomic footrest if they do not reach the floor comfortably.
7. Adjusting the armrests
The armrests can be adjusted in several directions:
- up and down,
- forward and backward,
- inward and outward,
- rotated left and right.
They also move together with the synchro-tilt mechanism, helping to support your arms when the backrest is reclined.
Raising the armrests
- Hold the armrest pad.
- Pull it upwards.
- Stop at the desired height.
You will hear clicks as the armrest moves. Each click represents a locking position.
Lowering the armrests
- Pull the armrest all the way to its highest position.
- This will release the height-adjustment mechanism.
- Lower the armrest completely.
- Raise it again to the desired position.
Adjusting the armrest pads
Hold the armrest pad and move it into a position that comfortably supports your forearm. The pad can be:
- moved forward or backward,
- moved inward or outward,
- rotated to the left or right.
These adjustments allow you to position the armrests for different activities, including typing, using a mouse, reading or relaxing.
Finding the correct armrest height
Adjust the armrests so that your forearms rest on them lightly while your shoulders remain relaxed. As a general guide:
- keep your elbows close to your body,
- maintain an elbow angle of approximately 90–110 degrees,
- keep your wrists in a neutral, straight position,
- position the armrests approximately level with the desk surface when typing or using a mouse.
If the armrests are too high, they will push your shoulders upwards. If they are too low, you may lean to one side or allow your shoulders and arms to hang without support.
The pads should support your forearms without pressing directly against the points of your elbows. They should also be positioned so that you can sit close enough to the desk without the armrests striking its edge.
Armrest movement while reclining
The armrests follow the movement of the synchro-tilt mechanism. This helps maintain support beneath your forearms as you move from an upright position into a partially or fully reclined position.