English
You’ve done it. You’ve bought a proper chair. Maybe it’s a mesh ergonomic marvel. Maybe it’s a gaming throne. Either way, it arrived, you assembled it, you sat down, and… it doesn’t feel as life-changing as you expected.
Here’s the thing: even a €1,500 chair will feel mediocre if it’s not set up correctly. And a €300 chair, properly adjusted, can outperform a premium one that’s been plopped at default settings.
A 2025 study published in Scientific Reports found that targeted ergonomic interventions — including proper workstation setup — significantly reduced musculoskeletal disorders among office workers. The chair is only half the equation. How you configure it is the other half.
This guide works for virtually any adjustable chair. Let’s do this the right way, from the ground up.
Before You Start: The Two Things You Need
Grab these before adjusting anything:
- Your regular work shoes (or be barefoot if that’s how you normally work). Shoe height affects everything.
- Your desk and monitor at their final position. Chair setup is relative to your workspace — there’s no point optimizing in isolation.
Sit in the chair naturally. Don’t try to “sit up straight” yet — just settle in. Now let’s adjust, step by step.
Step 1: Seat Height — The Foundation of Everything
This is where most people go wrong, and it’s the most important adjustment.
How to Set It
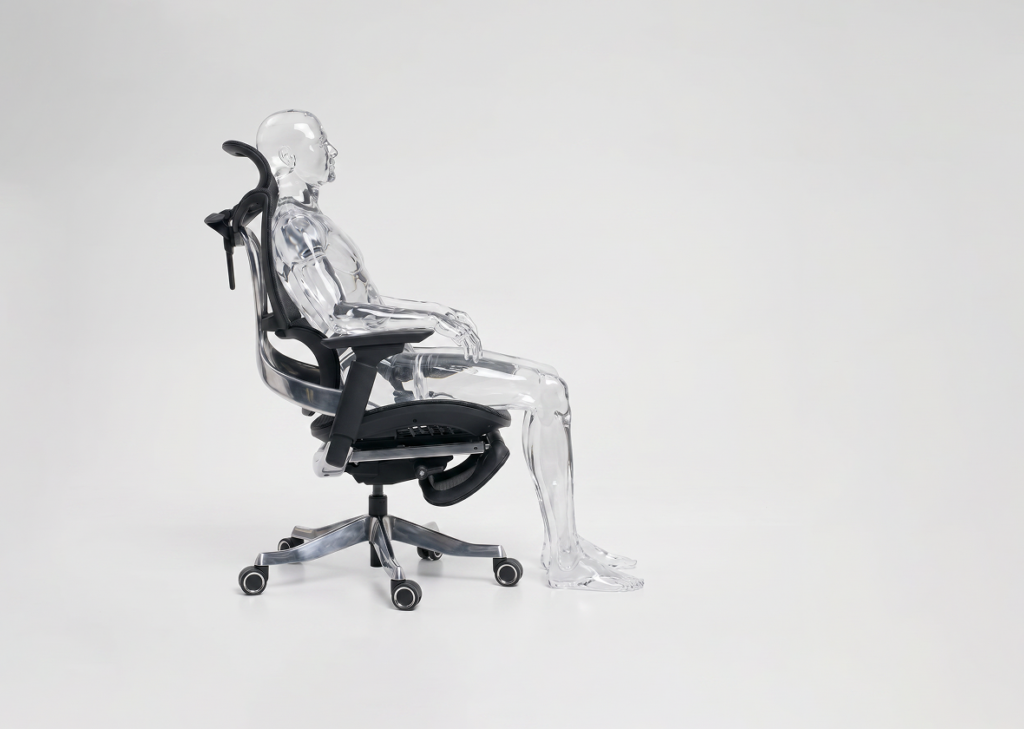
- Stand in front of the chair. The top of the seat cushion should be just below your kneecap.
- Sit down. Your feet should be flat on the floor.
- Your thighs should be approximately parallel to the floor, or angled very slightly downward (knees at or just below hip height).
- There should be about 2-3 fingers of space between the back of your knees and the front edge of the seat.
The Science Behind It
Research from Cornell University’s DEA 3250 program notes that traditional guidance recommends a 90-degree knee angle to prevent leg swelling — but approximately 75% of leg swelling is actually due to low leg muscle activity rather than angle alone. The key is keeping your feet grounded so your legs can shift naturally.
Common Mistakes
- Seat too high: Your feet dangle or rest on tiptoes. This cuts off circulation behind the thighs and creates pressure points. If your desk is too high and forces this, get a footrest rather than compromising your seat height.
- Seat too low: Your knees rise above your hips. This rounds your lower back and loads your lumbar spine. You’ll feel it by hour two.
Pro tip: If you have a height-adjustable desk (or are considering one), set the chair first, then adjust the desk to match. Chair height should be driven by your body, not your furniture.
Step 2: Seat Depth — The Forgotten Adjustment
Many chairs have a sliding seat pan. If yours does, use it. If it doesn’t, this is still worth checking.
How to Set It
- Sit all the way back in the chair so your back contacts the backrest.
- Check the gap between the front edge of the seat and the back of your knees.
- You want roughly 2-4 cm (about 2-3 fingers) of clearance.
- Adjust the seat slider forward or backward until you hit that sweet spot.
Why It Matters
Too deep: The seat edge presses into the back of your knees, restricting blood flow and causing tingling in your legs. Too shallow: You lose thigh support, and your legs take on more weight than they should. Either way, you’ll unconsciously shift forward away from the backrest — defeating the purpose of that lumbar support you paid for.
[show_extra_products /]
Step 3: Lumbar Support — The Star of the Show
This is the single adjustment that separates “my chair is okay” from “I can’t believe I used to sit without this.”
How to Set It
- Find your lumbar curve. Stand up, put your hands on your lower back, and feel the inward curve just above your belt line. That’s your lumbar lordosis — the natural curve your chair needs to support.
- Sit back and adjust the lumbar support height so it fills that curve. Not higher (that pushes you forward). Not lower (that’s supporting your sacrum, not your lumbar).
- Adjust the depth/firmness so you feel gentle, consistent pressure — not pushing you forward, not so subtle you forget it’s there.
As the Human Solution’s ergonomic guide explains: “The lumbar support should fit right in the natural curve of your spine, typically at the small of your back directly above your belt line.”
Different Chair Types
- Mesh ergonomic chairs (like the Ergo Milano Pro or Ergo One) typically have height-adjustable lumbar built into the backrest. This is the best system — it stays in place and moves with the chair.
- Gaming chairs often use a separate lumbar pillow. If that’s what you have, position it at the right height and tighten the straps so it doesn’t migrate. Check it every few days — these pillows love to wander.
- Gaming chairs with built-in lumbar (like the Commander’s LumbarPro system) combine gaming aesthetics with adjustable internal lumbar support. Best of both worlds.
Step 4: Backrest Angle and Tilt
Here’s where we bust a common myth: sitting at a rigid 90-degree angle is not ideal.
Research indicates that maintaining a fixed 90-degree hip angle places constant strain on lower back muscles and compresses spinal discs. A slightly open angle — 100° to 110° — reduces intradiscal pressure and is actually better for long-term comfort.
How to Set It
- If your chair has synchro-tilt (common in ergonomic chairs like the Ergo Milano Pro with its Donati mechanism): Unlock the tilt and adjust the tension so the backrest supports your weight when you lean back, but doesn’t push you forward when you sit upright. You should be able to recline gently without fighting the chair.
- If your chair has a standard recline: Set the backrest angle to roughly 100-110° for working. Lock it there for focused tasks. Unlock for casual reading or meetings.
- If your chair has deep recline (135°+ common in gaming chairs): Great for breaks and casual use. Not great for active work — your eyes won’t reach the monitor comfortably.
The Magic of Synchro-Tilt
If your chair has it, learn to love it. Synchro-tilt mechanisms move the backrest and seat pan at different ratios (typically 2:1 — backrest moves twice as far as the seat). This keeps your feet on the floor while your upper body reclines, reducing strain without disrupting your working position. It’s the closest thing to “dynamic sitting” without a standing desk.
Step 5: Armrests — More Important Than You Think
Bad armrest setup is sneaky. You won’t notice it immediately, but over weeks it’ll contribute to shoulder tension, neck pain, and that mysterious ache between your shoulder blades.
How to Set Them
- Let your arms hang naturally at your sides. Bend your elbows to approximately 90 degrees.
- Adjust armrest height so they barely touch the underside of your forearms in this position, as recommended by the Canadian Centre for Occupational Health and Safety (CCOHS).
- Your shoulders should stay relaxed — not hunched up or dropping down.
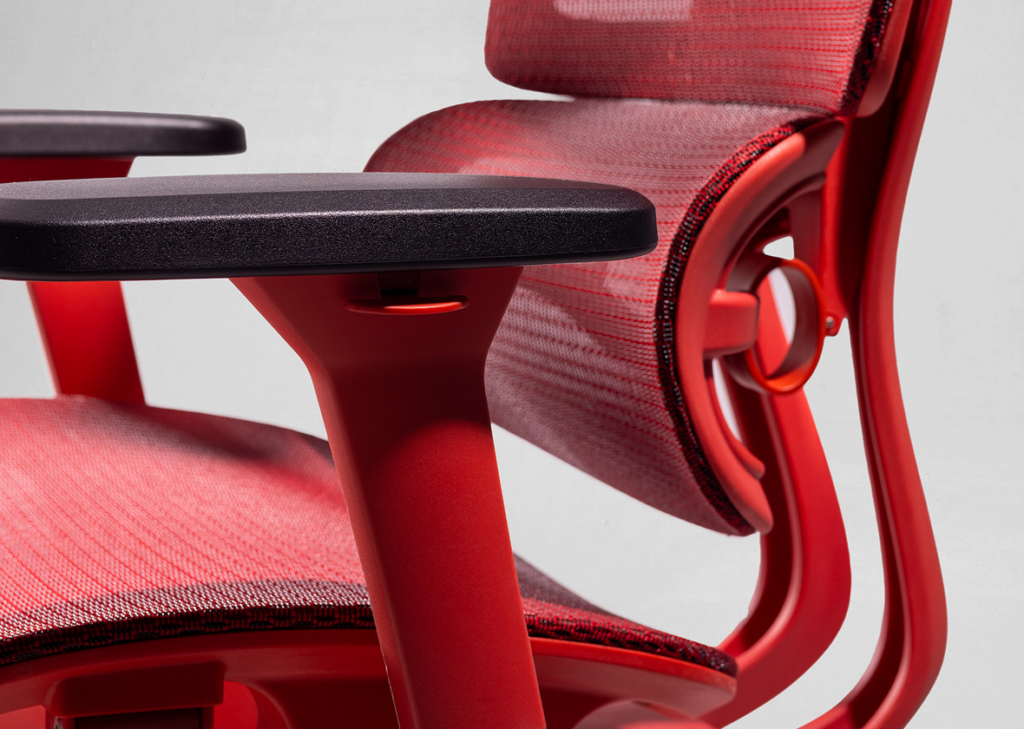
If Your Chair Has 4D Armrests
Chairs with 4D armrests (like the Paradox Commander) let you adjust height, width, depth, and angle. Here’s the full setup:
- Height: Set as described above (elbows at 90°, shoulders relaxed).
- Width: Bring them close enough to support your forearms without squeezing your torso. You should be able to reach your keyboard without extending your arms outward.
- Depth: Slide them so the pad supports the area from your forearm’s midpoint toward your elbow. Not too far forward (you’ll hit the desk), not too far back (no support).
- Angle: Slightly inward is natural for most people — it follows the ergonomic angle toward your keyboard and mouse.
The Nuclear Option
If your armrests prevent you from getting close enough to your desk, remove them. Seriously. Armrests that force you to reach for your keyboard do more harm than good. Most chairs allow armrest removal with a few bolts. It’s not ideal, but it beats the alternative.

Step 6: Headrest (If You Have One)
Not all chairs have headrests, and not everyone needs one. But if yours does:
How to Set It
- The headrest should support the base of your skull (the occipital bone), not the top of your head and not your neck.
- When sitting upright and working, you probably won’t use the headrest much — and that’s fine. It’s most valuable during reclined positions (calls, reading, thinking).
- Adjust the angle so it cradles your head when you lean back, without pushing your chin toward your chest.
Step 7: Your Monitor and Desk (The Chair’s Partners in Crime)
A perfectly adjusted chair with a badly positioned monitor is still a recipe for neck pain. While this isn’t strictly chair setup, they’re inseparable:
- Monitor height: The top of your screen should be at or slightly below eye level. If you’re looking down more than 15°, it’s too low. If you’re looking up at all, it’s too high.
- Monitor distance: Arm’s length is the classic rule. For larger screens (27″+), push it back a bit further.
- Keyboard and mouse: Should be at elbow height. Your forearms should be roughly parallel to the floor when typing.
The 20-20-20 Rule and Movement Breaks
No chair setup, however perfect, replaces the need for movement. A 2022 study in PAIN Reports found that active breaks and postural shifts significantly reduced the incidence of neck and lower back pain in office workers.
The simple version:
- Every 20 minutes: Look at something 20 feet away for 20 seconds (the 20-20-20 rule for your eyes).
- Every 45-60 minutes: Stand up, stretch, walk around for 2-3 minutes.
- Throughout the day: Shift positions. Lean back. Lean forward. Cross your legs briefly. Use the tilt mechanism. The best posture is always your next posture.
Quick Setup Checklist
Print this. Stick it on your wall. Reference it every time you adjust your chair:
- ☐ Feet flat on floor (or on footrest)
- ☐ 2-3 fingers between seat edge and back of knees
- ☐ Lumbar support aligned with your lower back curve
- ☐ Backrest at 100-110° (not rigid 90°)
- ☐ Tilt tension lets you lean back without fighting
- ☐ Armrests at elbow height, shoulders relaxed
- ☐ Headrest supporting base of skull (if applicable)
- ☐ Monitor top at eye level, arm’s length away
- ☐ Keyboard at elbow height
- ☐ Movement break reminder set
Common Mistakes That Undo Everything
1. Setting It Once and Never Touching It Again
Your body changes. Your work changes. That heavy winter sweater adds thickness. Summer means thinner clothes. Re-check your setup seasonally, or whenever something starts feeling “off.”
2. Cranking Everything to Maximum
Maximum lumbar pressure, highest armrests, tightest tilt tension — more is not better. Every adjustment has a sweet spot, and it’s almost never at the extreme.
3. Copying Someone Else’s Setup
Your colleague’s perfect settings are calibrated for their body, their desk, and their habits. Start from the guide above and fine-tune for you.
4. Ignoring Pain Signals
If something hurts after proper setup, don’t just push through. Reassess. The chair might need different settings, or there might be a desk/monitor issue creating the problem. Persistent pain after proper ergonomic setup warrants a conversation with a physiotherapist.
Chair-Specific Tips
For Mesh Ergonomic Chairs
Mesh conforms to your body over the first 1-2 weeks. Initial setup might feel slightly firm — that’s normal. Revisit the lumbar depth after the break-in period and fine-tune. The Ergo One and Ergo Milano Pro both include synchro-tilt mechanisms that work best when the tension is calibrated to your body weight — lighter users should decrease tension, heavier users should increase it.
For Gaming Chairs
Don’t just throw the included pillows behind you and call it done. Spend 10 minutes on proper pillow positioning. The lumbar pillow goes at your belt line (not mid-back). The neck pillow sits at the base of your skull (not your upper back). Tighten the straps after positioning.
Final Thought
Setting up your chair properly takes about 15 minutes. That’s 15 minutes to potentially save yourself from years of back pain, neck tension, and those afternoon energy crashes that come from sitting badly. It’s the highest-ROI quarter-hour you’ll spend this month.
Your chair came with the tools to set it up. Make sure those tools include the knowledge to set it up right. All Paradox24 chairs ship with free assembly tools and a setup guide — but this article goes deeper than any instruction manual. Bookmark it. Your spine will send a thank-you note.